Once you’ve downloaded and installed the Kavkom for Android application from the Play Store, the next step is to ensure that your settings and authorizations are correctly configured to use Kavkom in the best possible conditions.
Configure the Kavkom application on Android
Authorize access to Kavkom
- Log in with your Kavkom account login details and choose your display language.
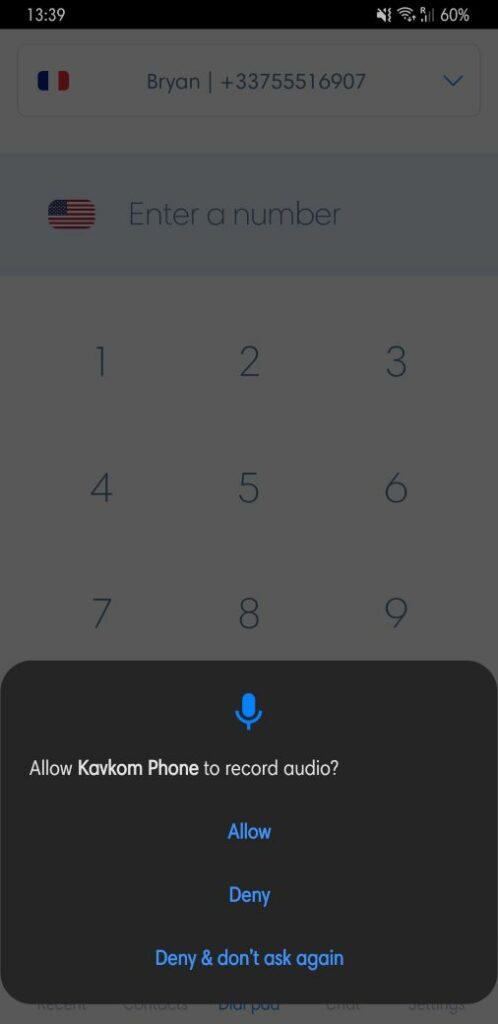
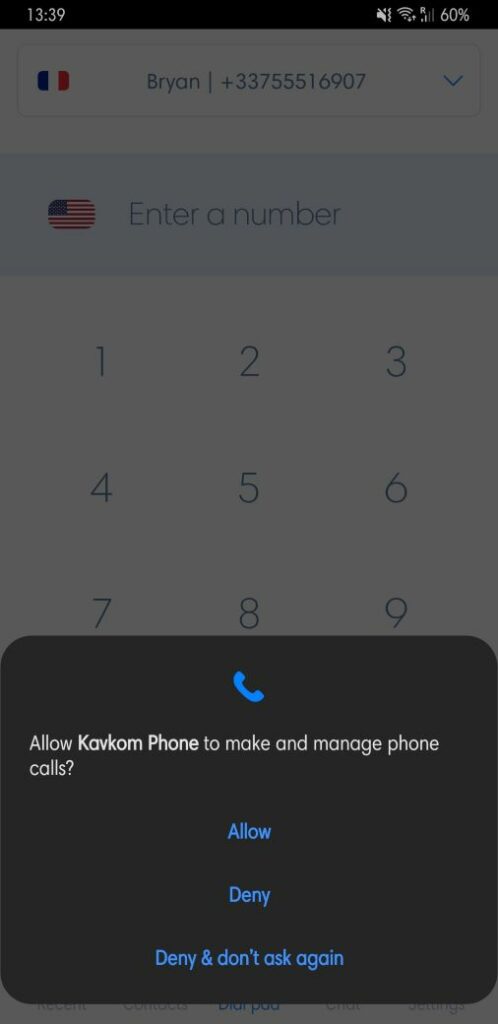
- You’ll then see permissions windows asking for authorizations to record audio content and make and manage phone calls in order to configure your application.
Microphone acces
Kavkom requires access to your microphone. To do so, tap on ‘Allow’.
Note : In Kavkom, you can choose to activate or deactivate the call recording function on each of your lines, but it is important to allow your phone to activate this function before deciding to activate or deactivate it on each of your lines.
Phone calls acces
Phone authorization is required to make and receive calls in the Kavkom application if you’re running Android 12 or higher.
To do so, tap on ‘Allow’.
Background execution – Depending on model
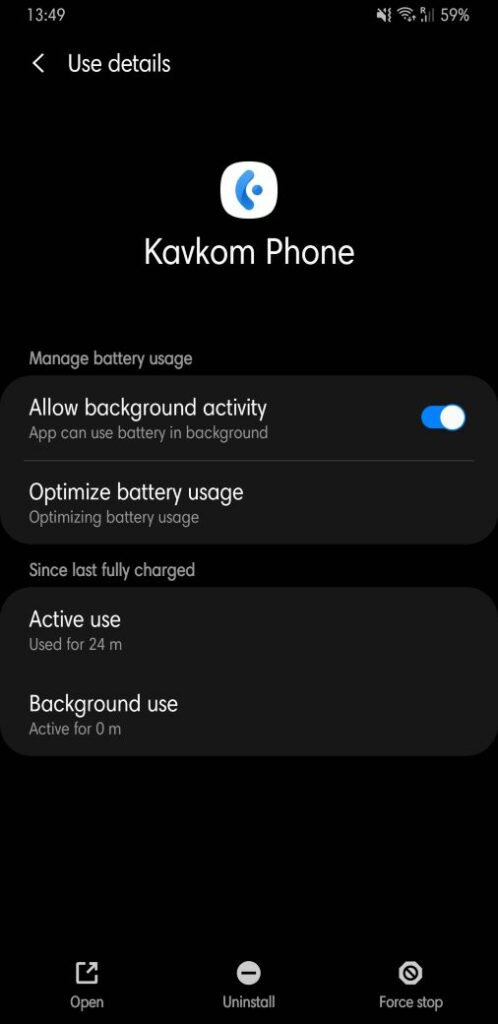
Kavkom needs access to run in the background. This will enable you to stay connected and receive calls and notifications even when you’re not in the application.
On some smartphones, it is necessary to manually authorize access. To do this, go to the application’s settings, and authorize the application’s activity in the background.
Foreground view – Depending on model
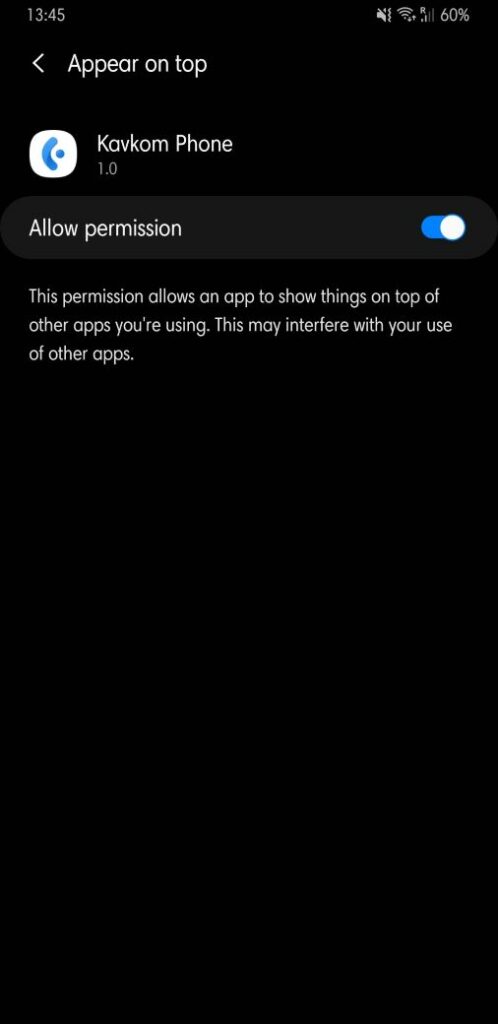
Allowing foreground view allows the application to be displayed when the smartphone is locked or you are using another application. This improves visibility of incoming calls.
On some smartphones, it is necessary to manually authorize the foreground view. To do this, go to the application settings, and authorize the application to be displayed in the foreground.
Application settings
My account
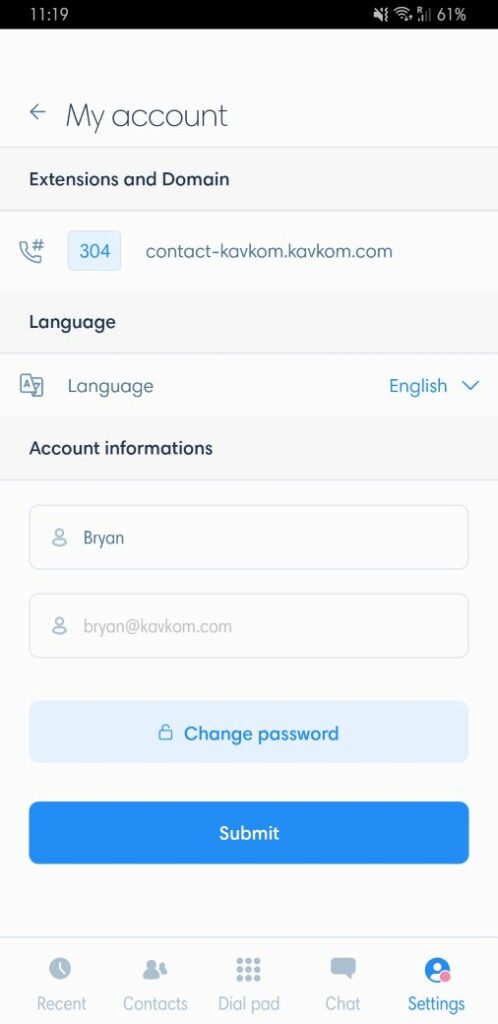
The “My account” menu in the Kavkom application allows you to view your line extension, change the application language and change your Kavkom user account password.
Sound and Devices
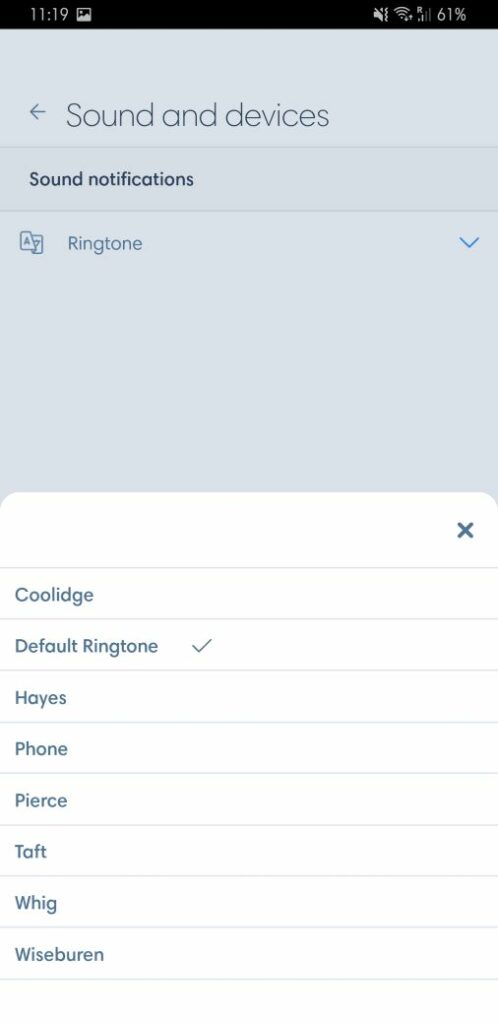
In this menu, you can change the ringtone for sound notifications.
Call preferences
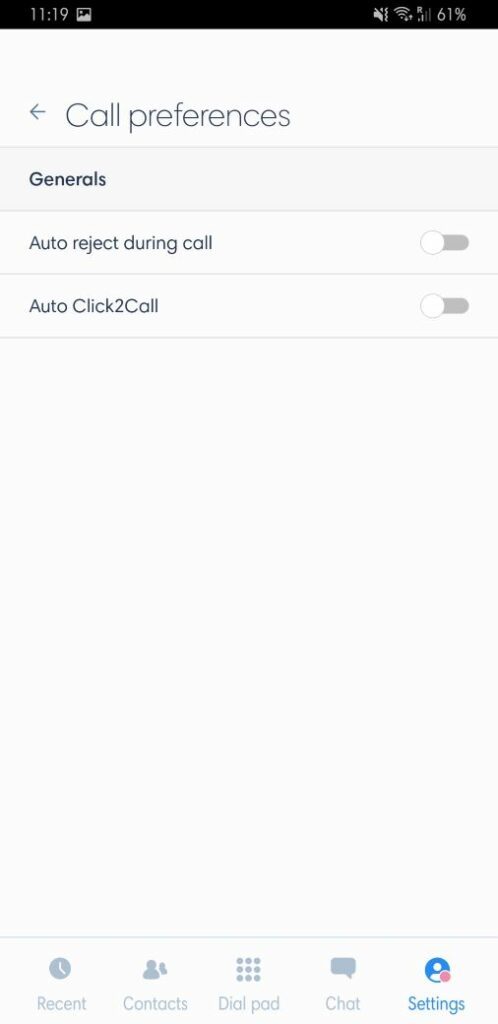
- Auto reject during call : lets you redirect incoming calls when you’re already on a call.
- Auto Click2Call : when using an integration or extension with Kavkom’s Click2Call functionality, allows the call to be launched without having to validate it.
Integration
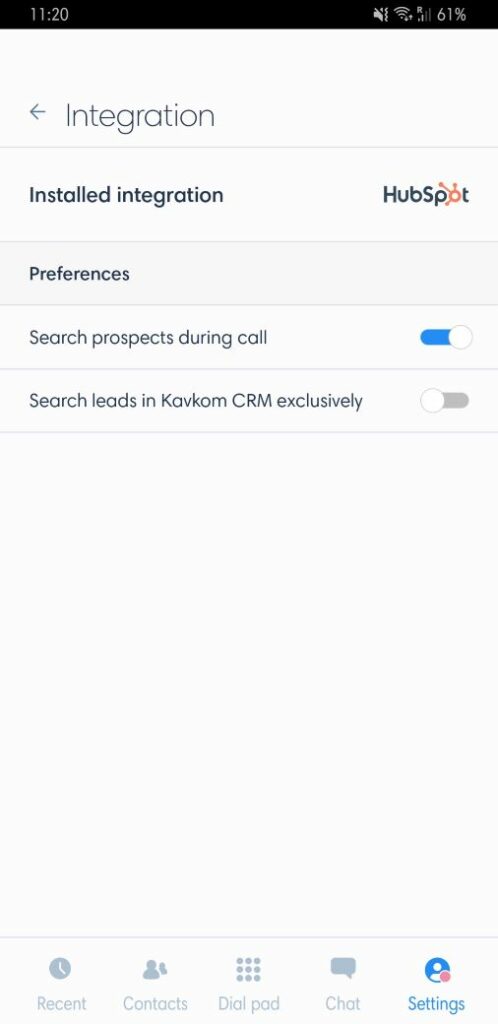
- Search prospects during call : when an integration is installed, displays contact information when receiving or making calls.
- Search leads in Kavkom CRM exclusively : displays contact information based on the Kavkom CRM database only, even if another integration is installed.
How to use the Kavkom Android application
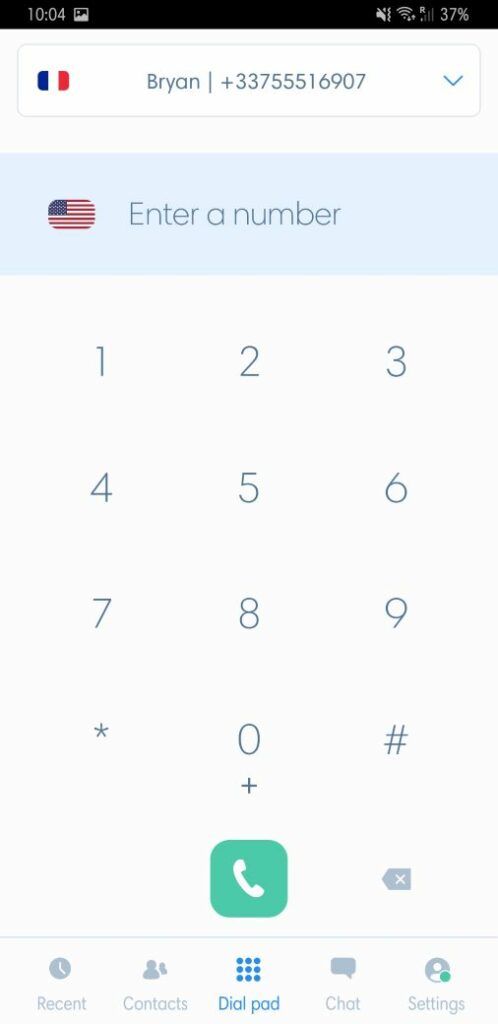
Navigating the Kavkom app on Android is easy. When you first log in to the app, your default screen is the dial pad where you can make outgoing calls.
Above the numeric keypad, you can toggle between your different numbers to choose the one you wish to display to your callers for future calls.
The “enter a number” box lets you select the country to which you’d like to make a call, without having to enter the area code. You can type in a number using the numeric keypad, or paste it from the clipboard.
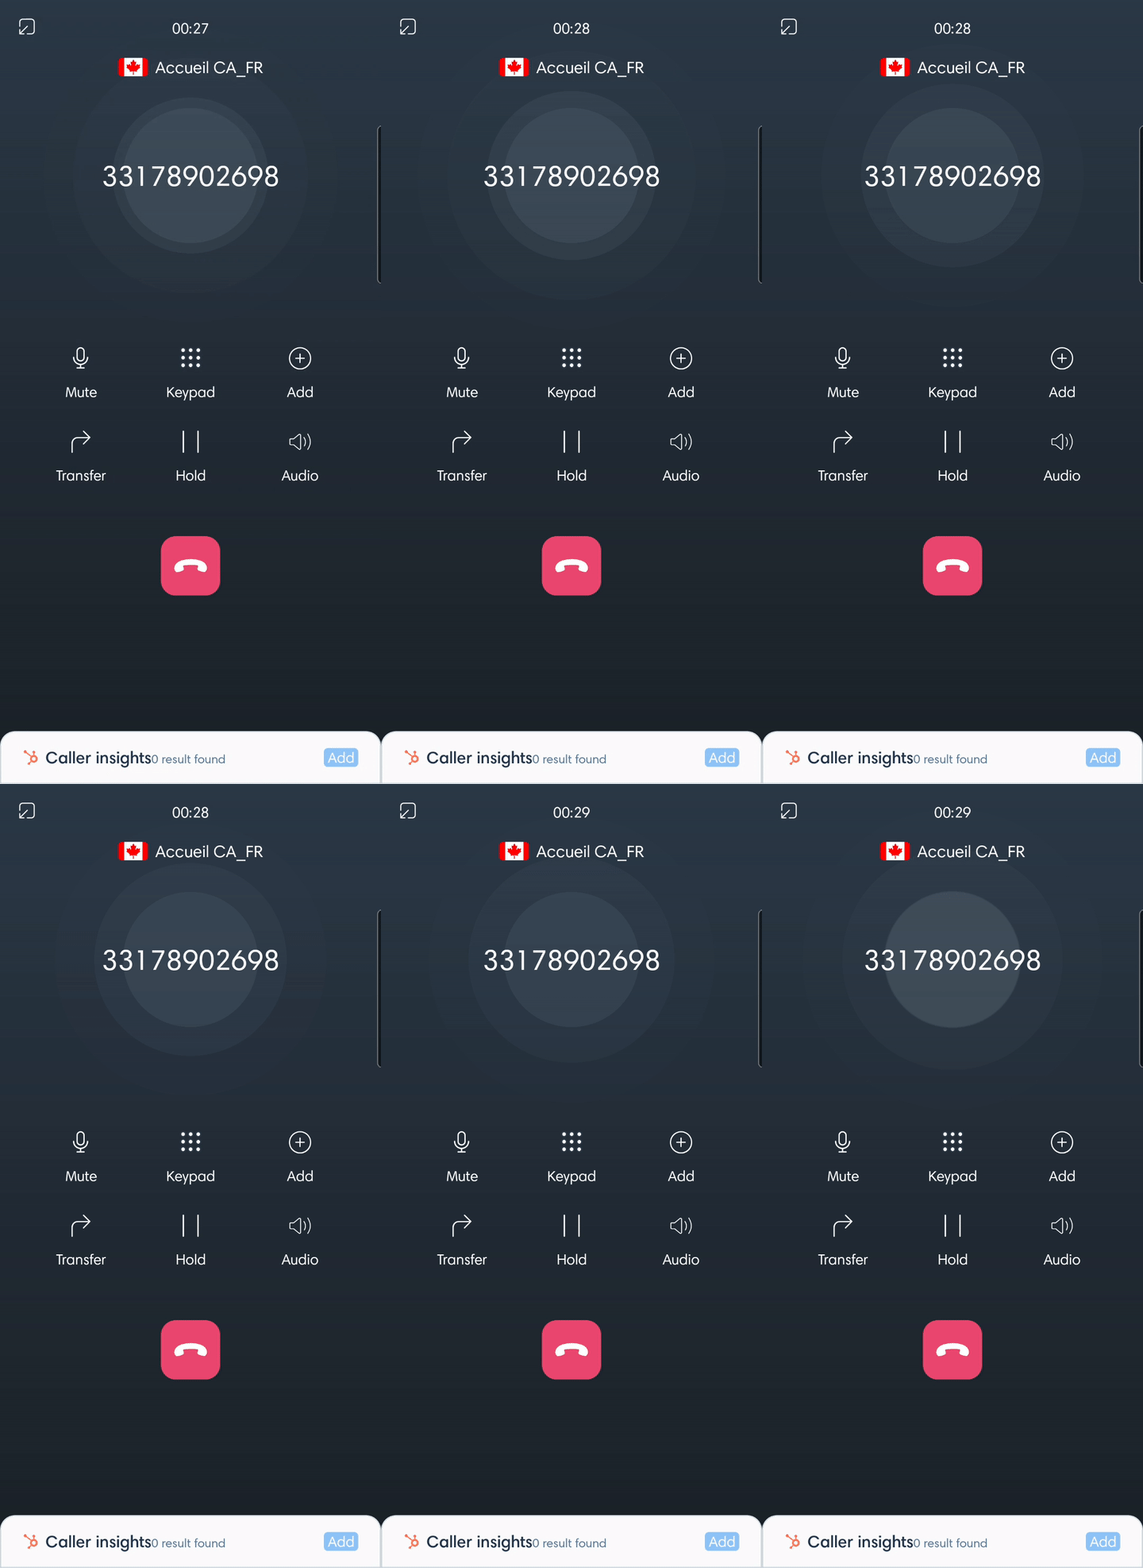
In-call view
During a call, here are the keys and their corresponding functions:
- Silence : mute microphone
- Keyboard : display numeric keypad
- Add : invite a participant
- Transfer : transfer the call to a teammate or an external number
- On hold : put the correspondent on hold
- Audio : Activate or deactivate the loudspeaker
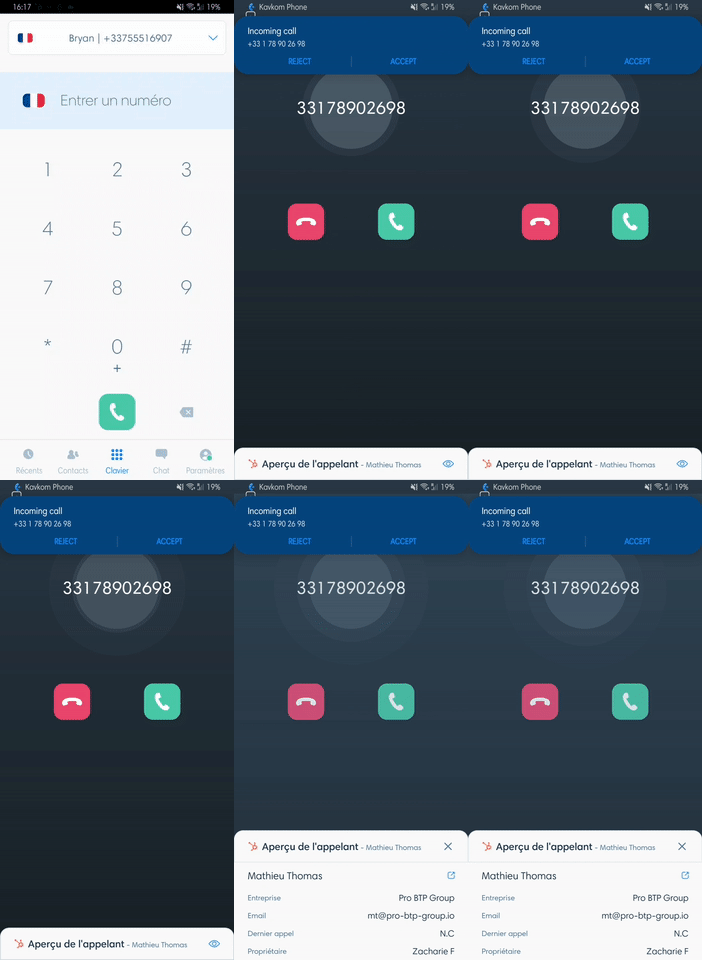
Caller information display
By activating the contact search with an integration or the Kavkom CRM, the contact’s record appears with his or her information on an incoming or outgoing call. You can then either quickly access the corresponding record in your CRM with a single click, or create a contact there.
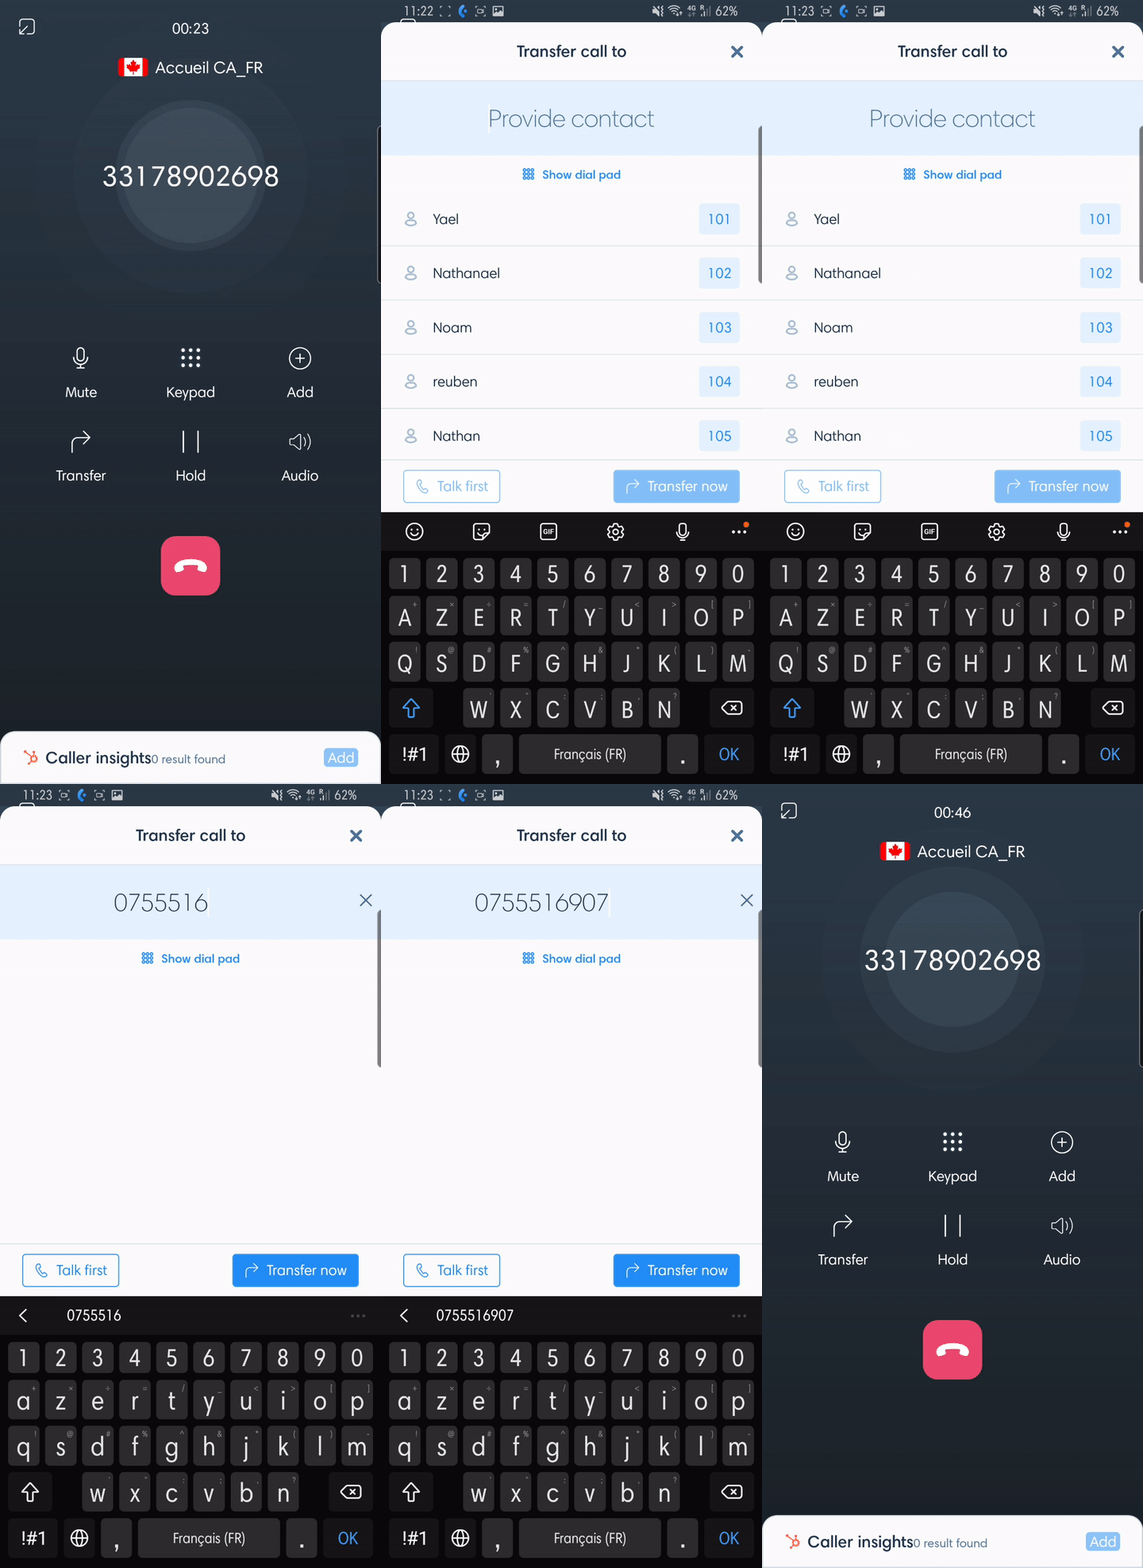
Transfer a call
Transfer your calls directly to an internal colleague or to an external line. Scroll through your contacts or use the search bar to find the right person, or enter the destination phone number.
Then tap on :
- “Transfer now” to make a direct transfer
- “Call first” to talk to the transfer recipient before confirming the transfer.
Numeric keypad
To display the keypad during a call to perform an action (e.g. to dial a number in an IVR menu, or when you need to enter a pin code), press the “Keypad” key. Tap on the cross at top right to close it.
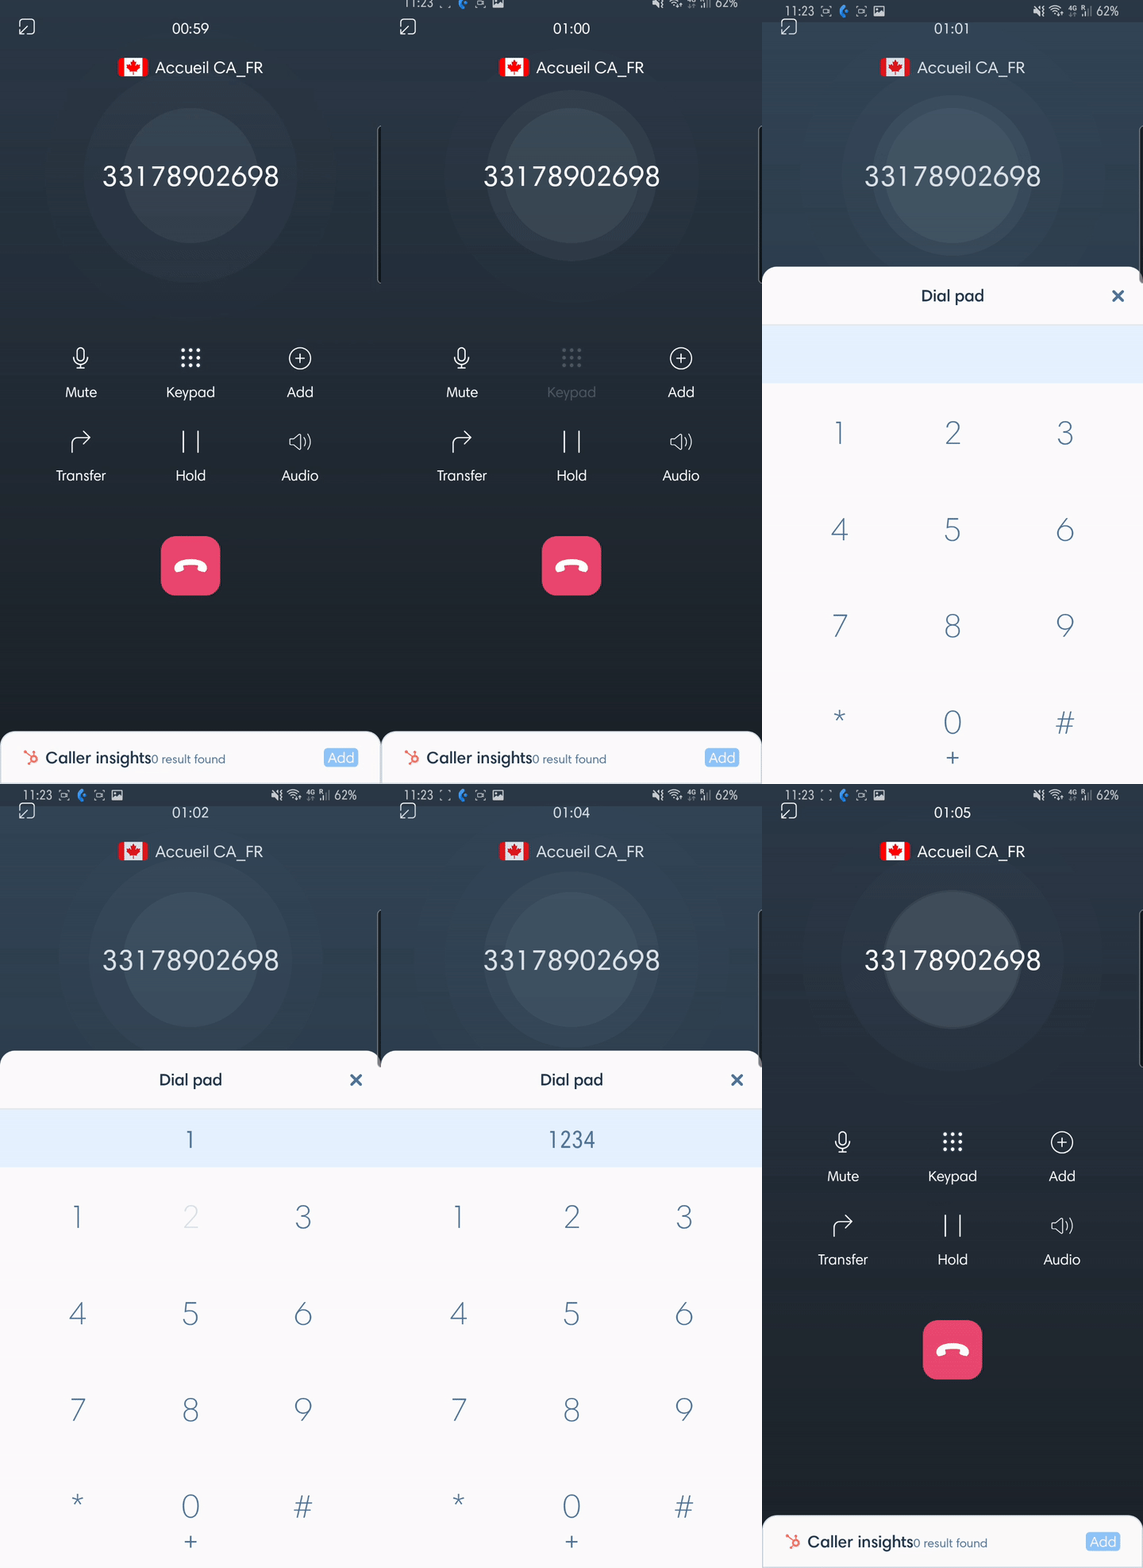
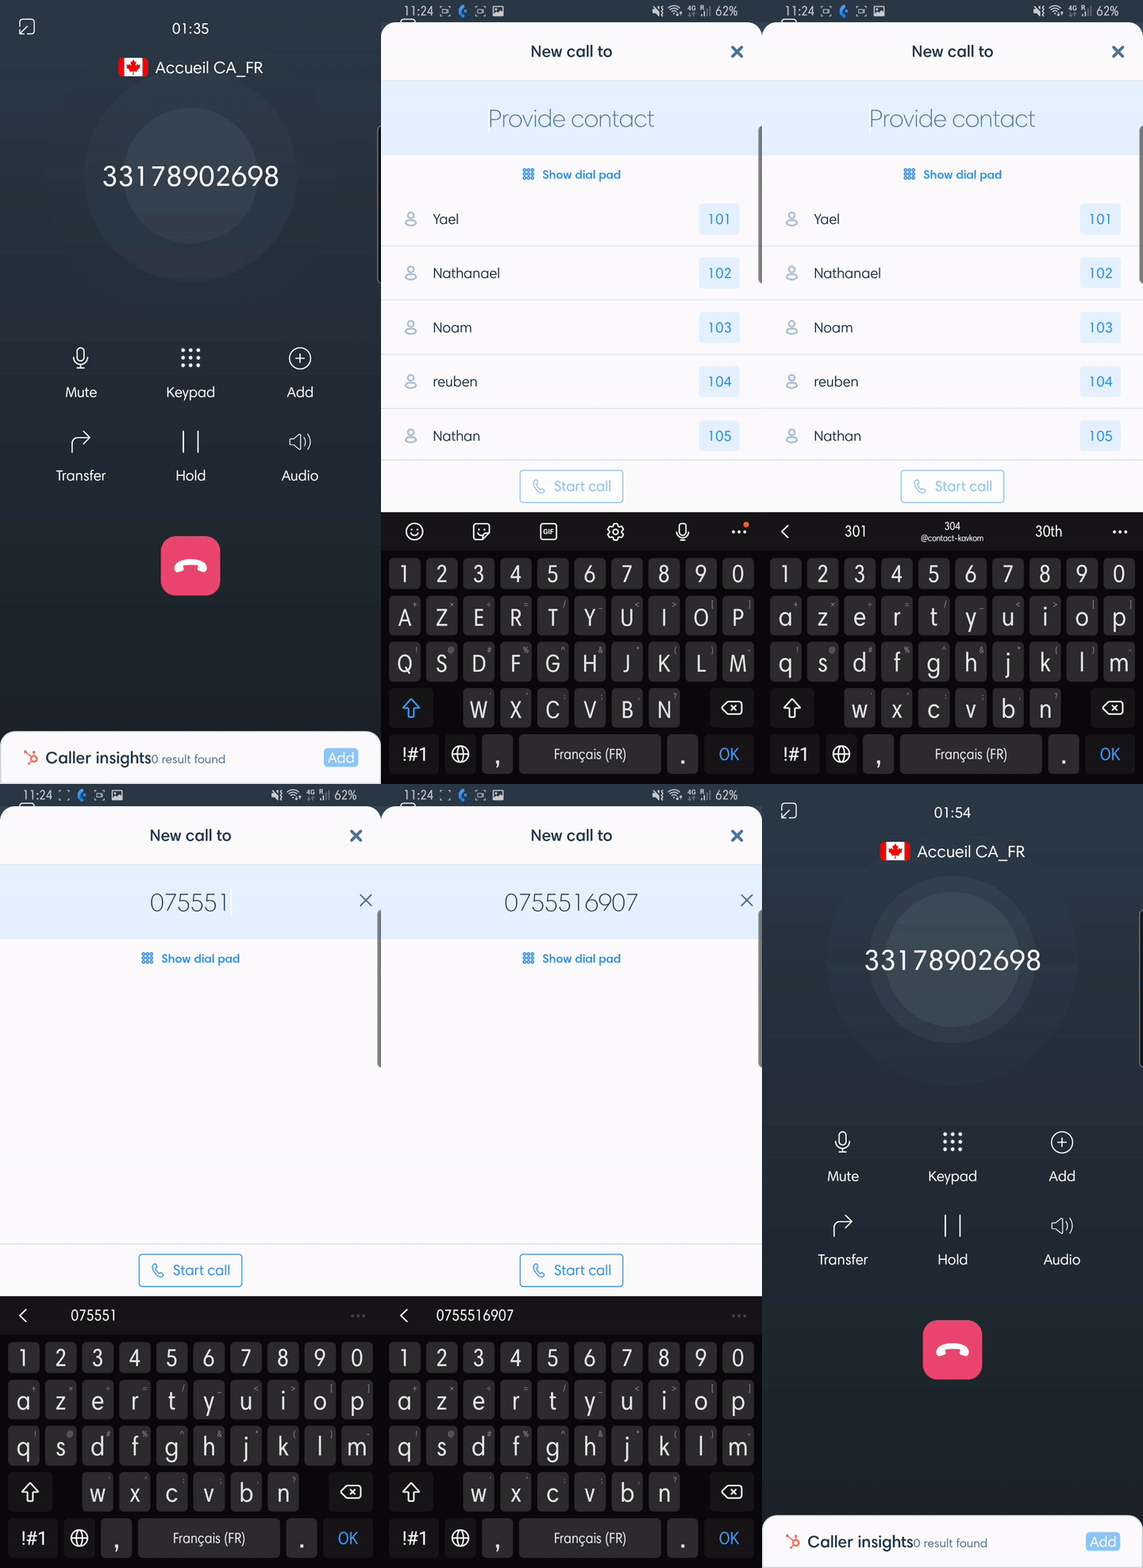
Invite to participate in the call
To invite a third party to the phone call, tap on “Add”, then select the collaborator or enter the phone number.
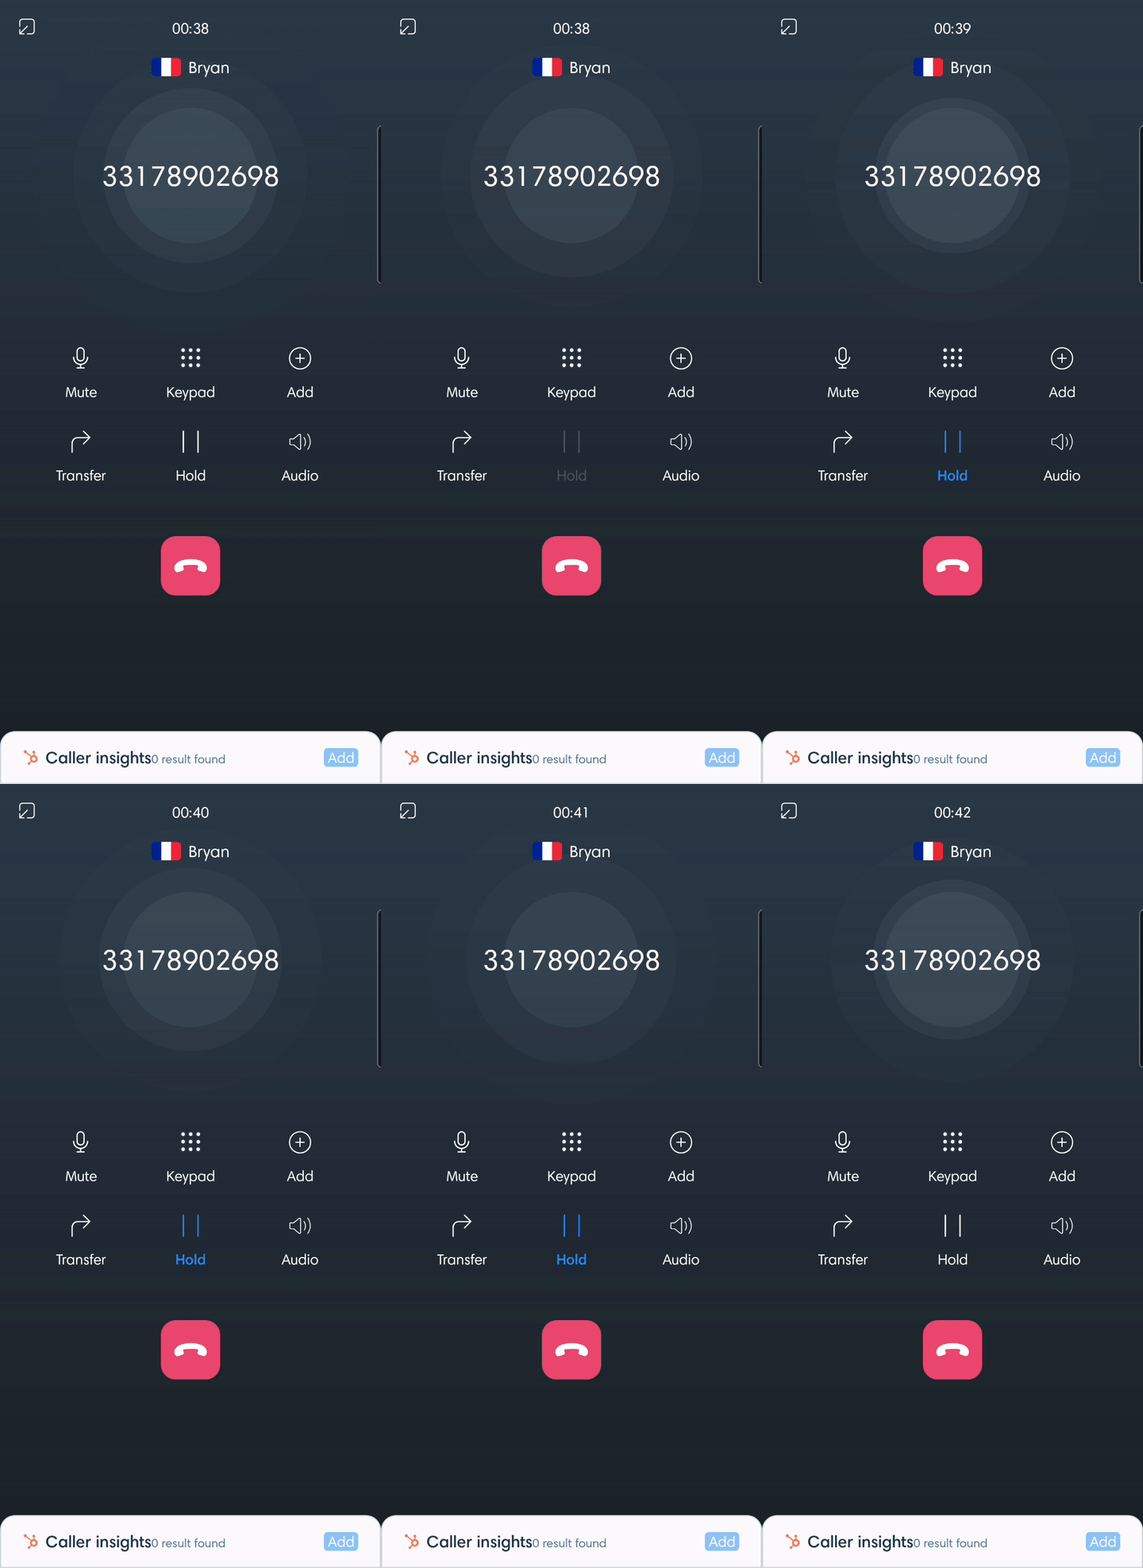
Put on hold
Press hold to put your callers on hold with music. Press again to resume the call.
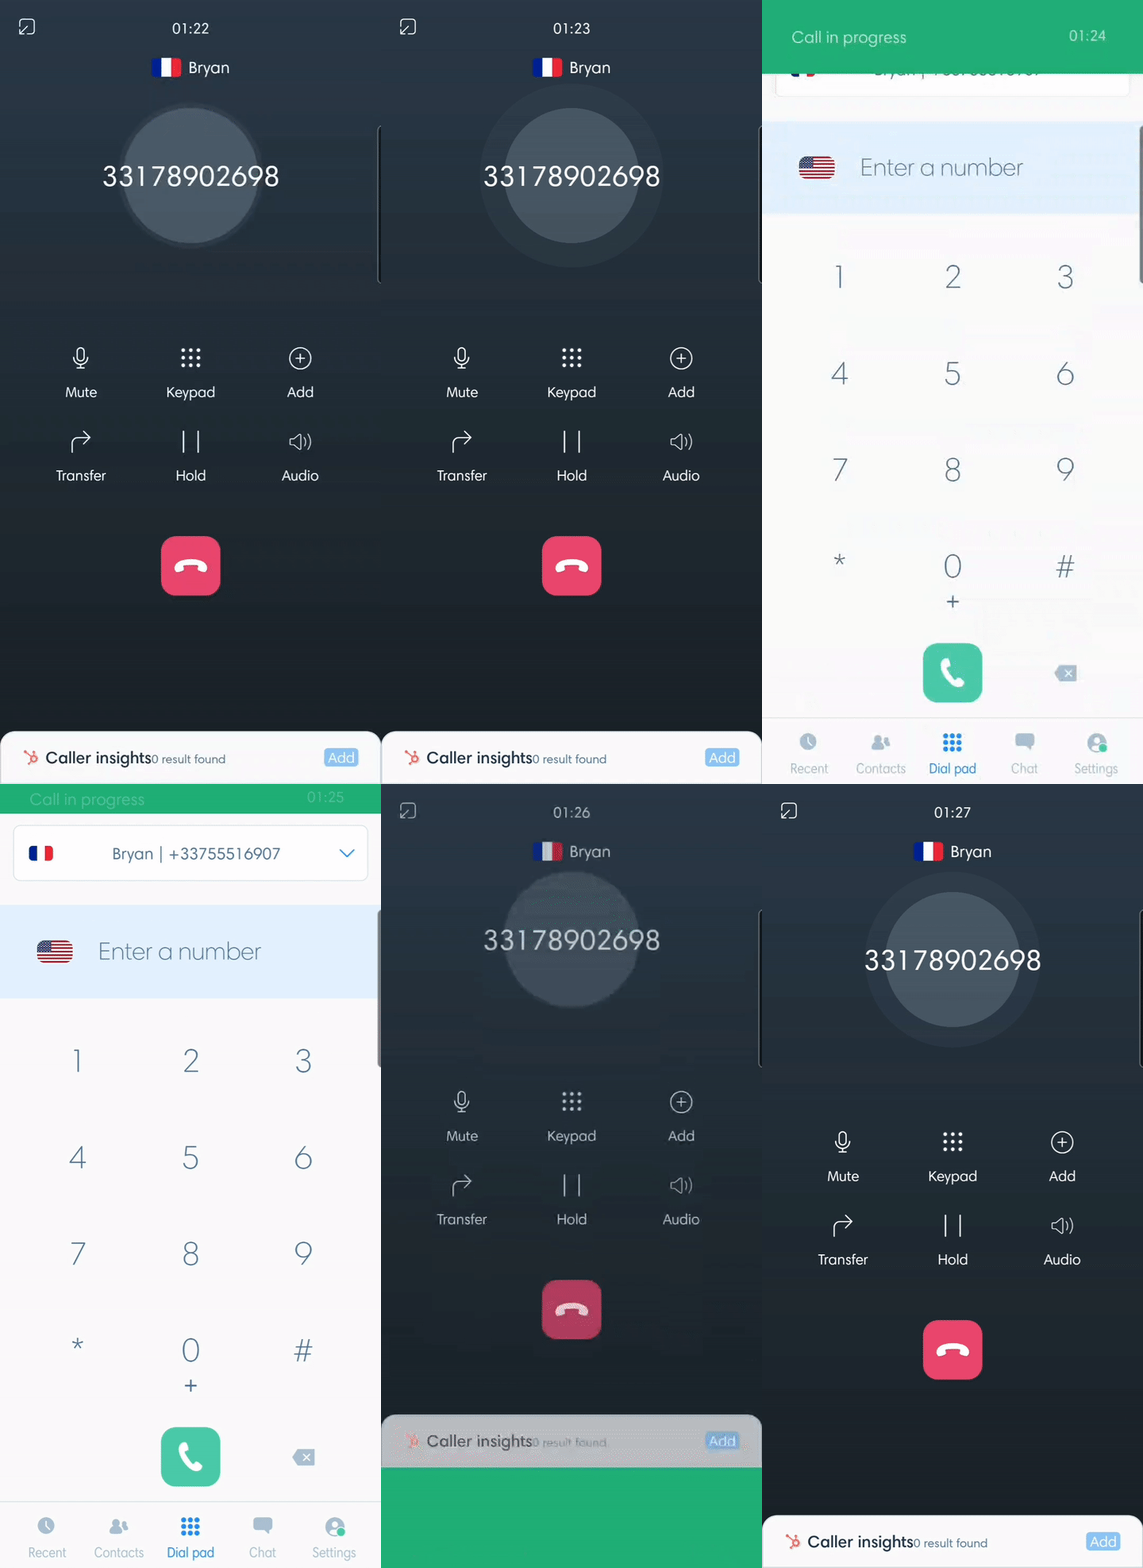
Minimize call window
By tapping on the icon at the top left, you minimize the current call window, allowing you to navigate the application menus while still on the line. Tap on the green bar to return to the call window.
Call history
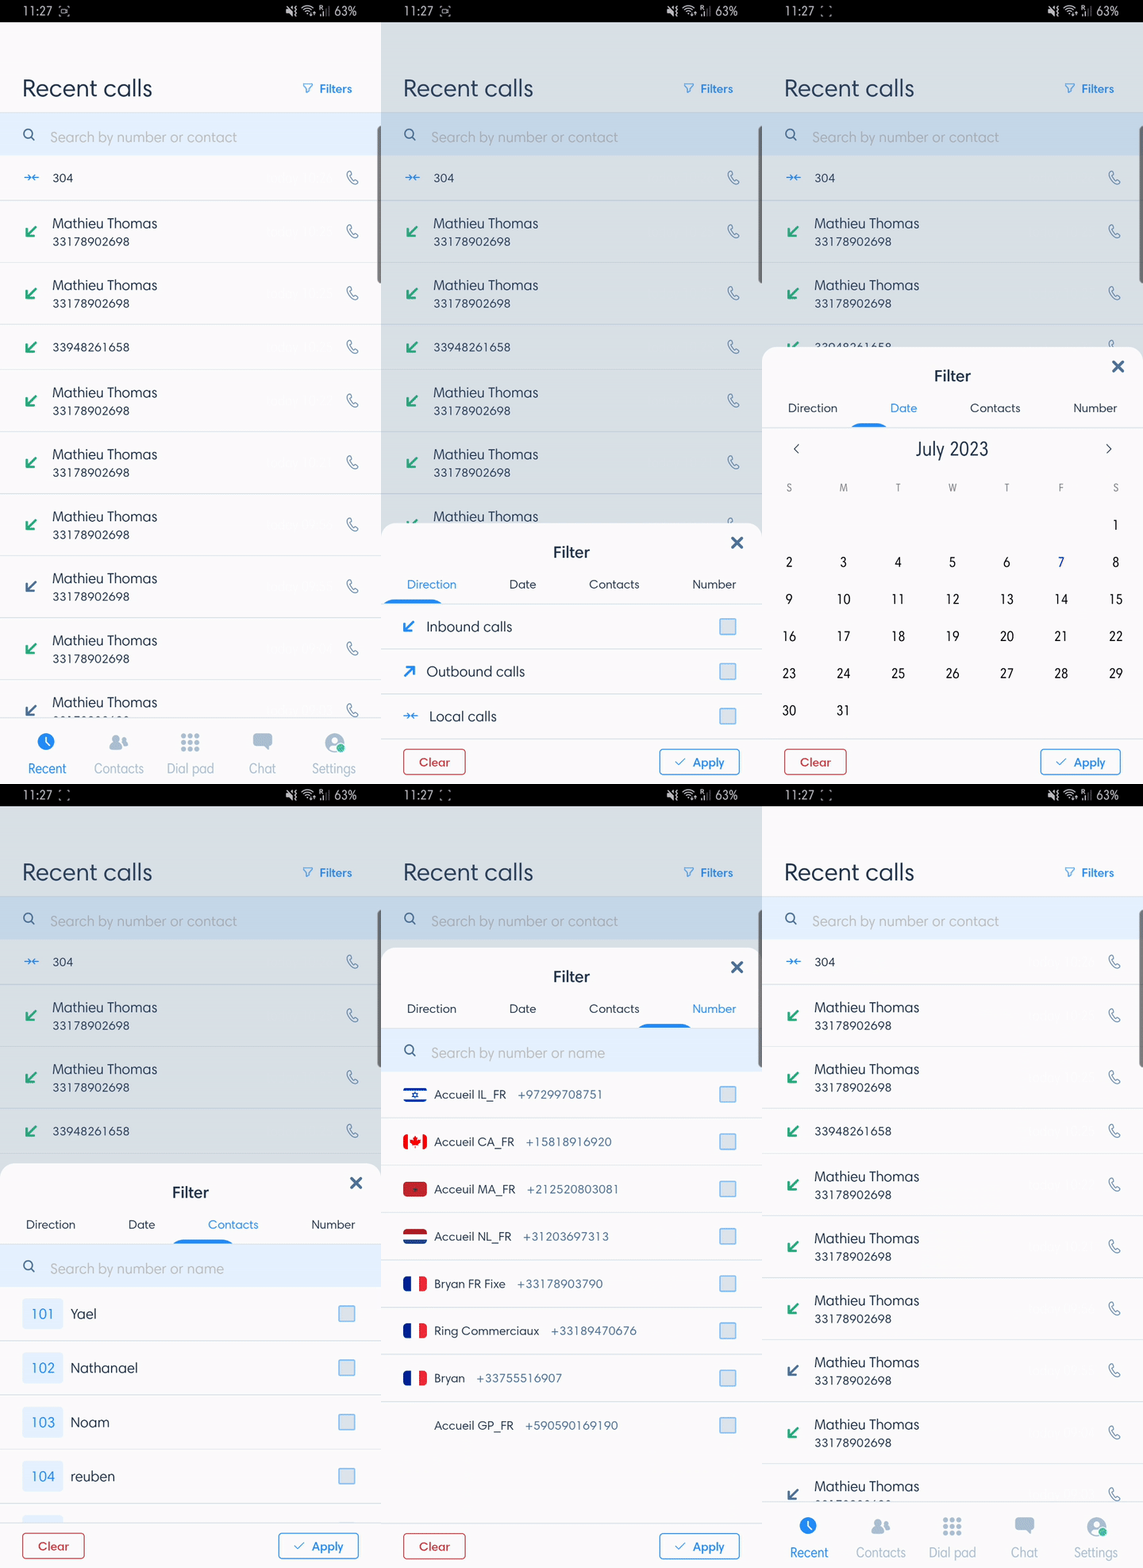
By tapping on “recent”, view your call history from any of your numbers. You can view outgoing and incoming calls, as well as voice messages. In addition to the phone number, the contact name is displayed when an integration is activated and the number corresponds to a contact in your CRM.
To find calls easily, you can use filters by tapping on “Filters” at the top left and selecting the direction, a date range, a collaborator or a number in the display.
Call details
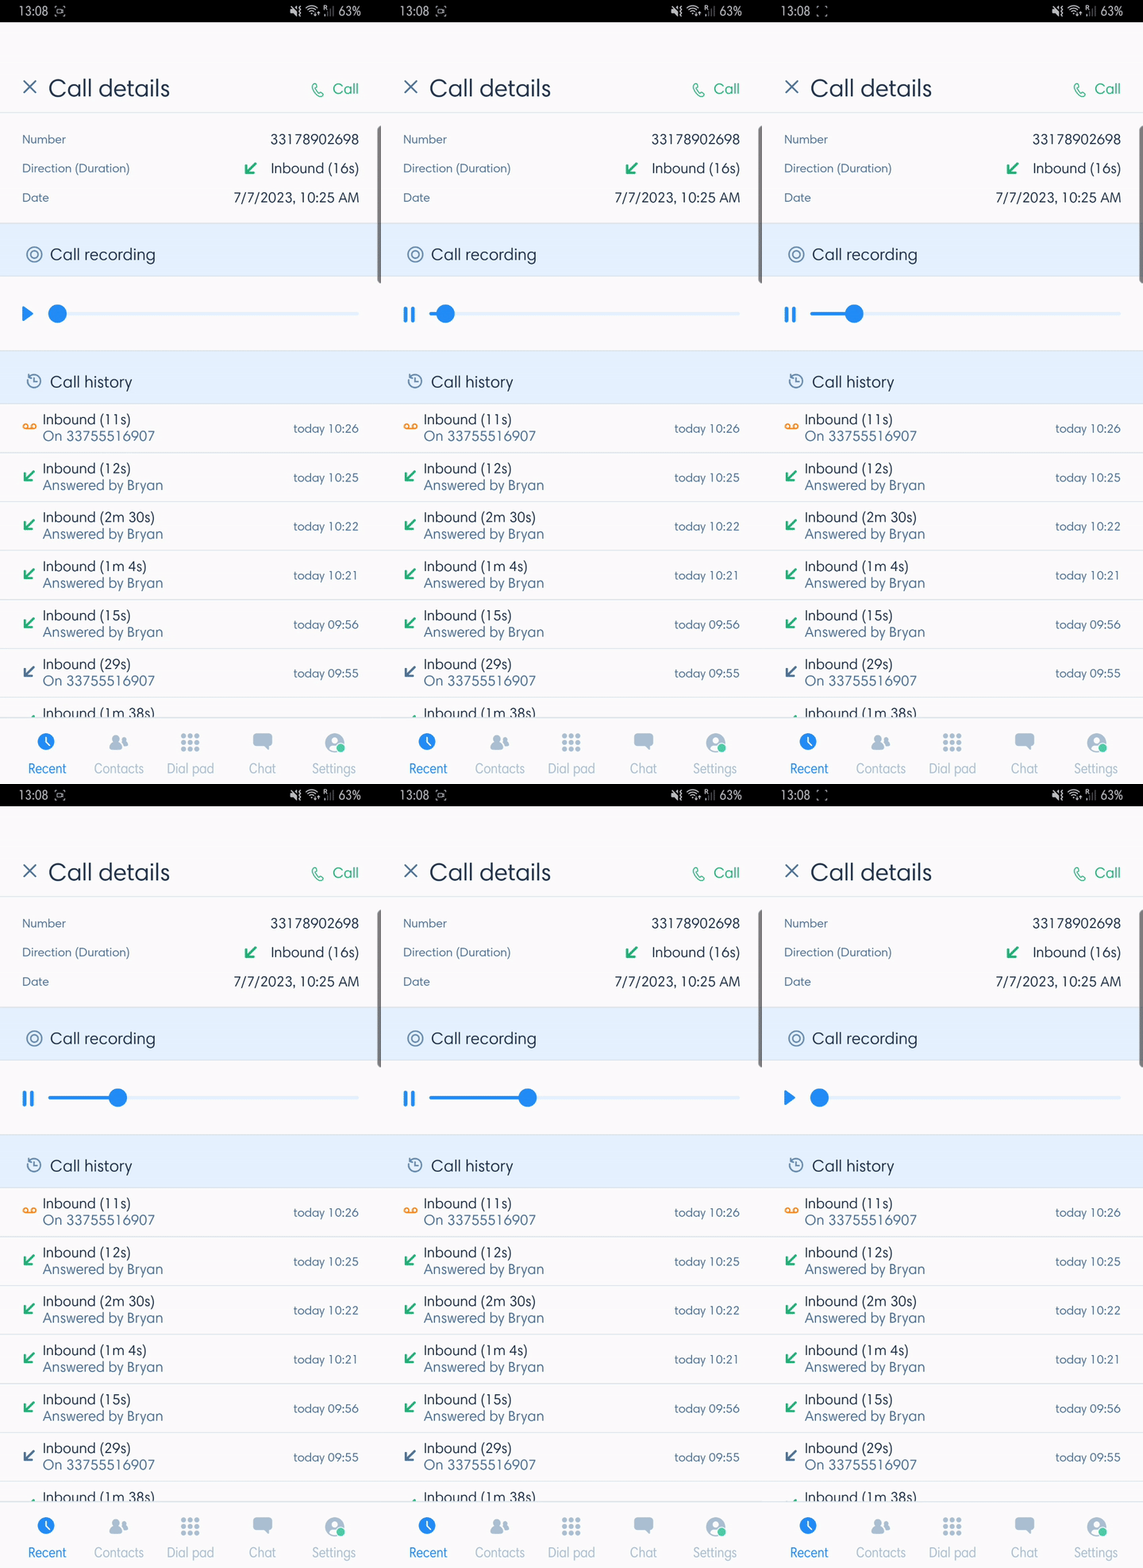
Tapping on a recent call takes you to the call details, the recording, the contact record if the number is stored in your CRM, and the call history for that number.
Contacts
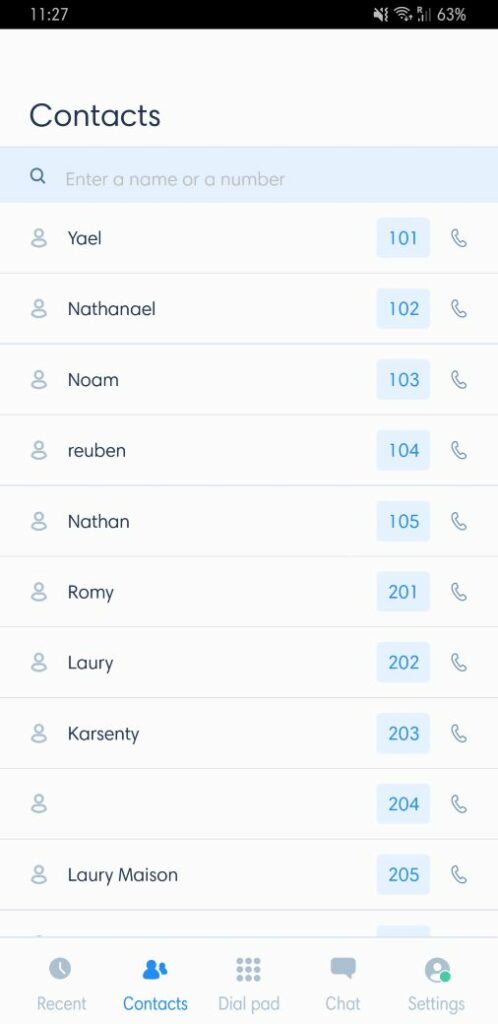
Find the list of your teammates to contact them quickly.
Parameters – Status
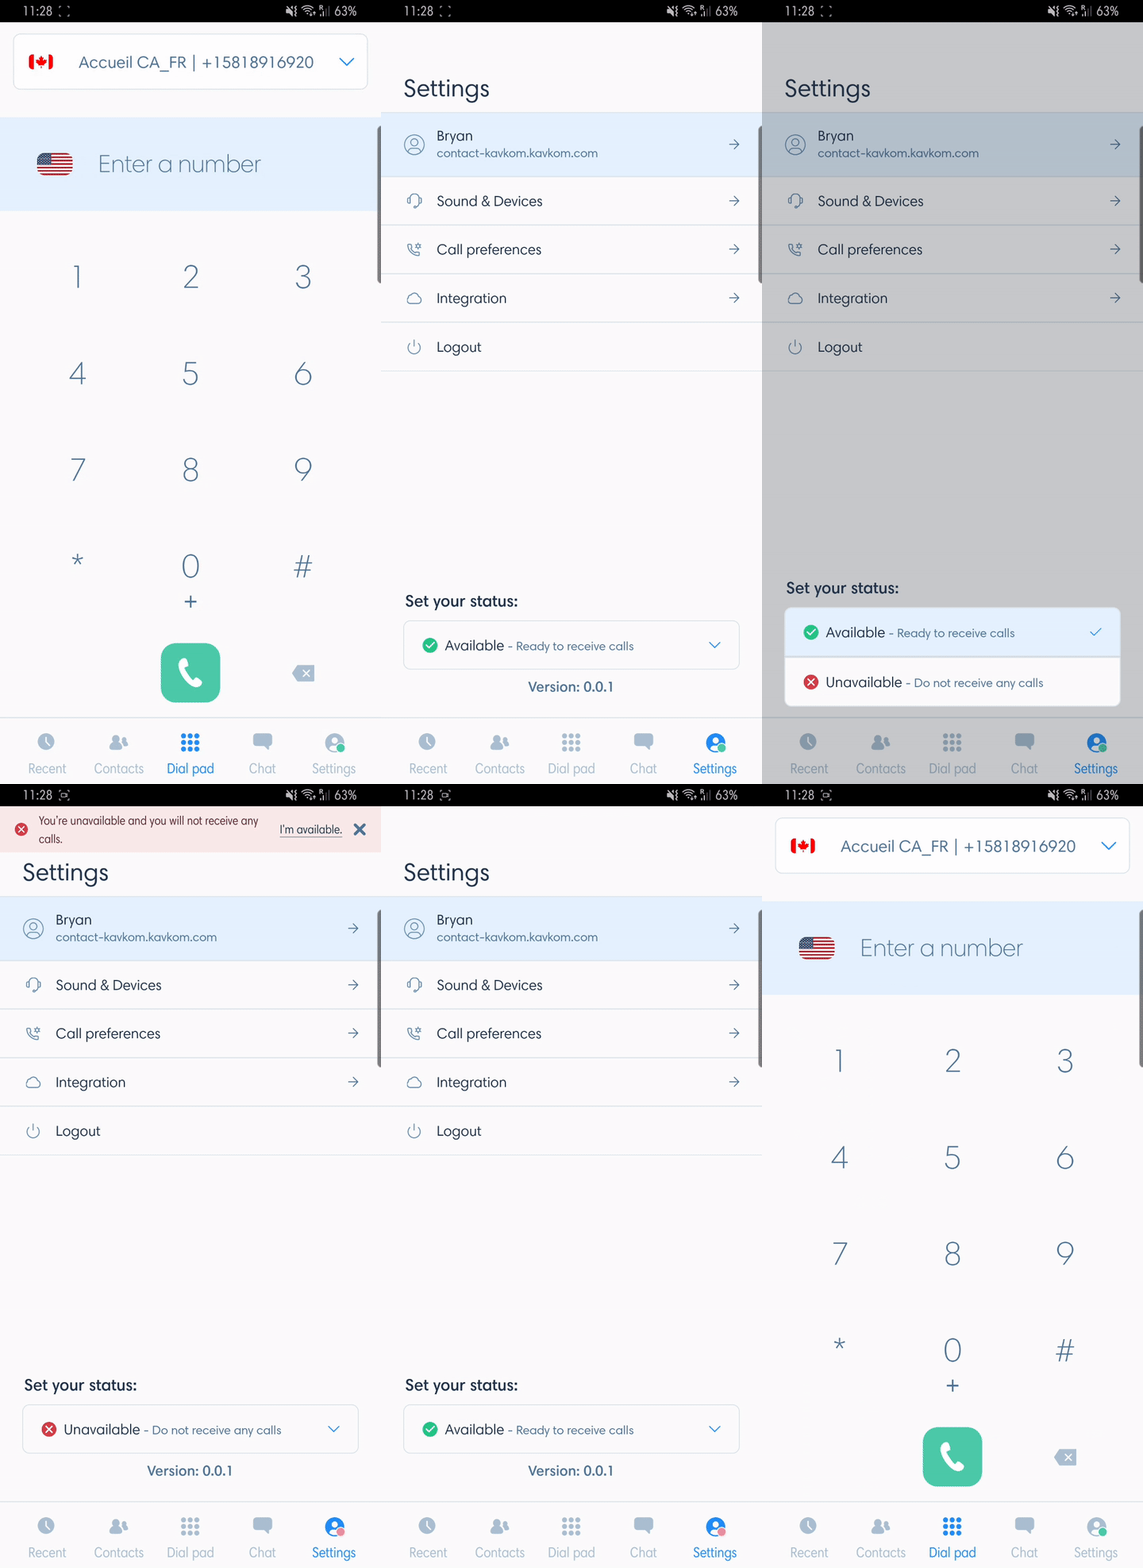
In the “Settings” menu, you can deactivate call reception by setting your status to “Unavailable”.
Now you know how to set up and use all the features of the Kavkom Phone application on Android!
If you have any questions about setting up and using the Kavkom Phone application for Android, please contact our technical support team.


