
The Kavkom Webphone lets you receive and make calls, as well as enjoy all the features of a telephone, from a web browser, simply by logging in to your Kavkom account.
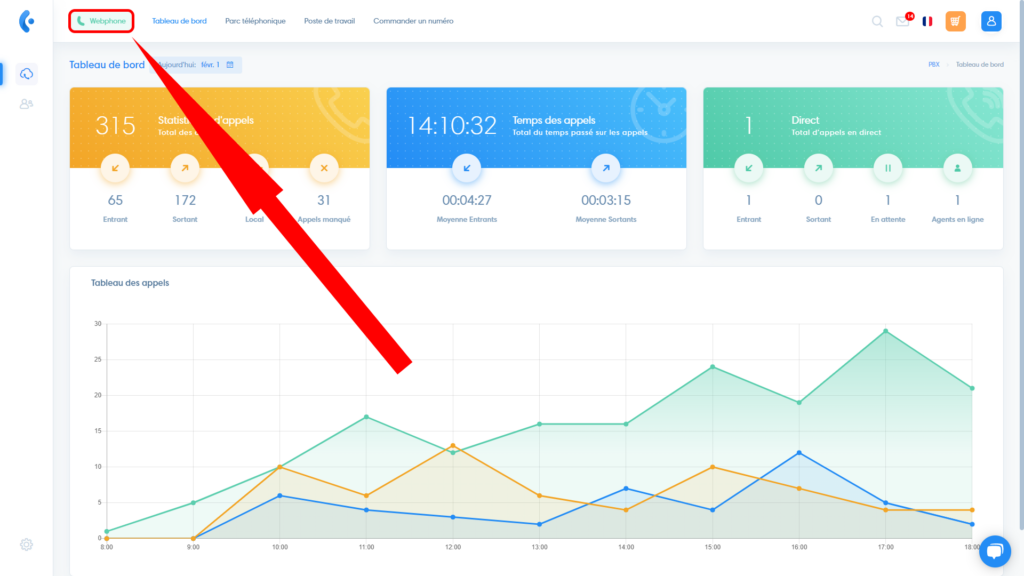
To access the Kavkom WebPhone from the interface, click on the “Webphone” button in the top left-hand corner, or go to webphone.kavkom.com. The Kavkom WebPhone window opens.
Configuring the Kavkom Webphone
Once you’ve opened the Kavkom Webphone in your browser, the next step is to make sure that your settings are correctly configured to use your Kavkom phone line in the best conditions.
Authorizations
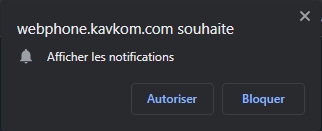
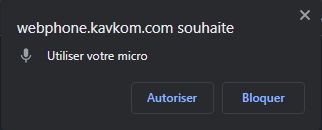
On first use, pop-ups are displayed to authorize the Kavkom Webphone to use the microphone and display notifications when a call is received.
Then go to the Webphone settings menu by clicking on the button at bottom right.

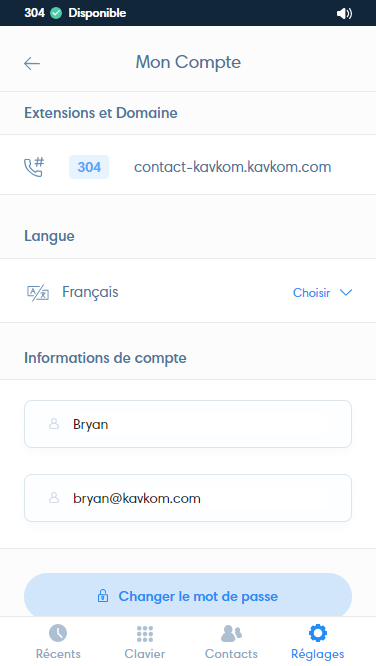
My account
The “My account” menu on the Kavkom Webphone lets you view your line extension, change the display language and change the password for your Kavkom user account.
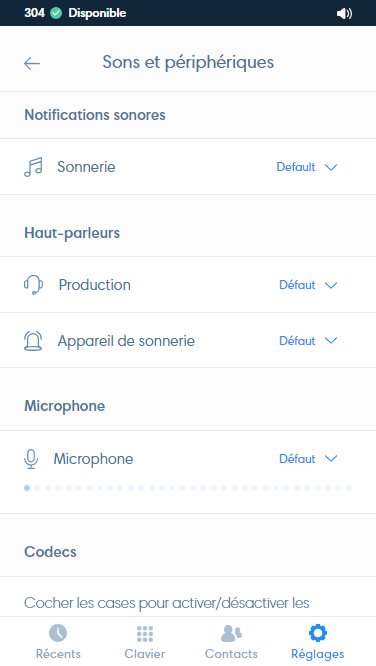
Sound and Devices
- Sound notifications: in this menu you can change the ringtone played during sound notifications.
- Speakers: select the sound output device for calls and ringtones.
- Microphone: check level and select input device.
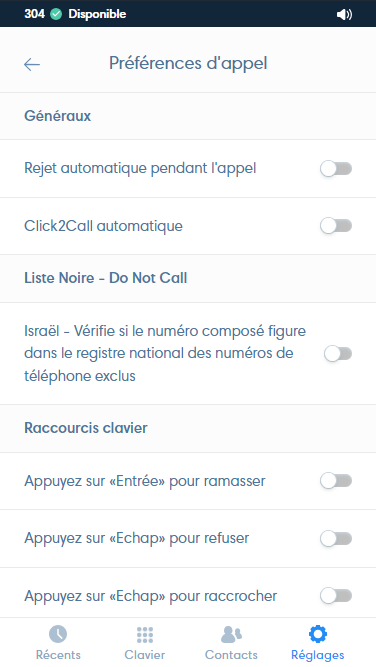
Call preferences
Generals
- Auto reject during call: lets you redirect incoming calls when you’re already on a call.
- Automatic Click2Call: when using an integration or extension with Kavkom’s Click2Call functionality, allows the call to be launched without having to validate it.
Blacklist: activate call blocking to telephone numbers on the national register.
Keyboard shortcuts: activate keyboard shortcuts to initiate, reject or hang up calls.
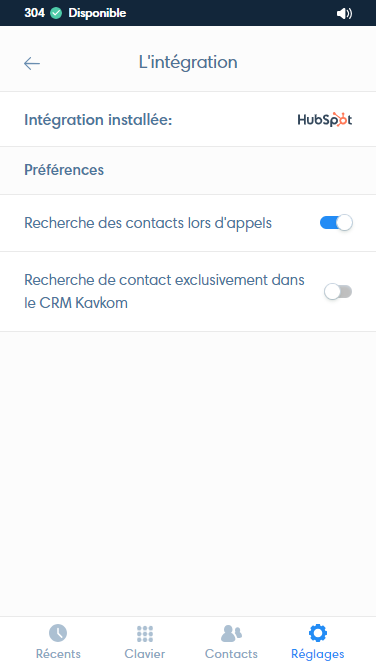
Integration
- Contact search during calls: when integration is installed, displays contact information when receiving or making calls.
- Contact search exclusively in Kavkom CRM: displays contact information based on the Kavkom CRM database only, even if another integration is installed.
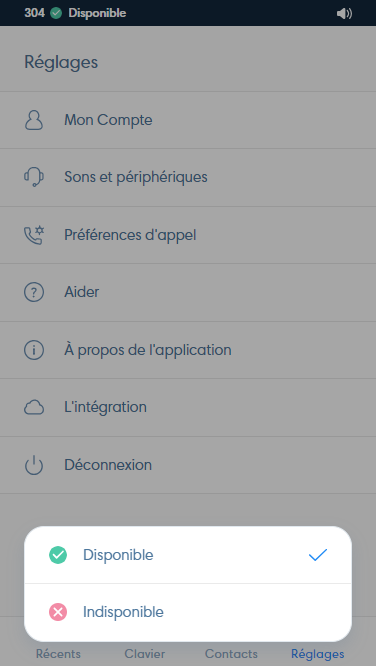
Status
In the “Settings” menu, you can deactivate call reception by setting your status to “Unavailable”.
Using the Kavkom Webphone
Making calls manually

- Paste or dial a number using your physical keyboard
- Dial a number by clicking on the keys on the virtual keyboard
- Select your display number
View during call
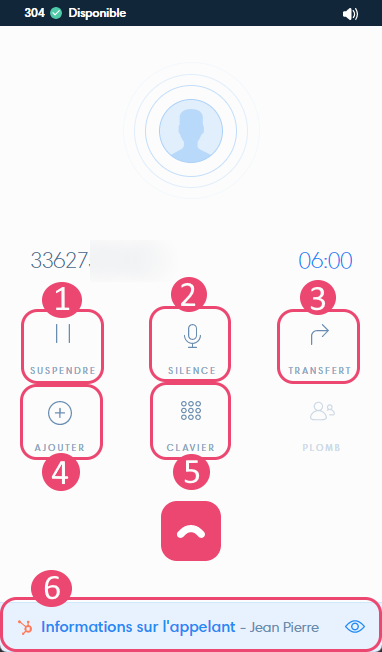
- Put correspondent on hold
- Mute microphone
- Transfer call
- Add a contact to make a conference
- Display numeric keypad
- Correspondent identification.
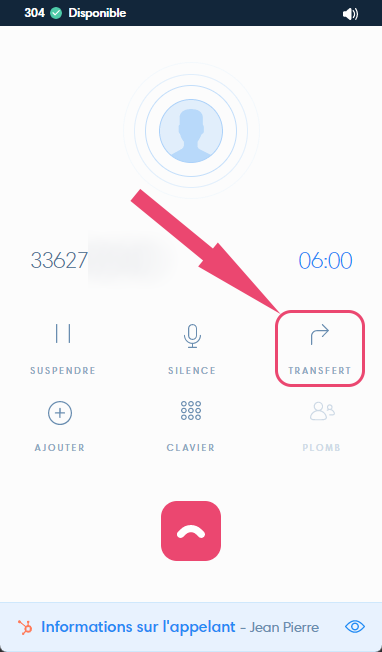
Transfer a call
With Kavkom Webphone, you can transfer calls. To do this, click on “Transfer” during a call.
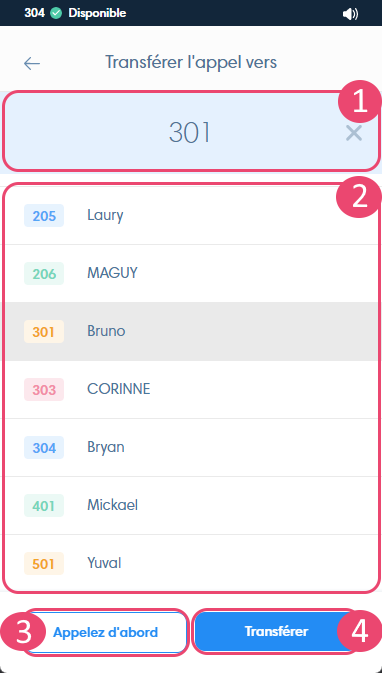
Then you can :
- Enter a number, extension or employee name
- Select an employee from the list
- Talk to the recipient before transferring the call by pressing “Confirm”.
- Transfer the call directly.
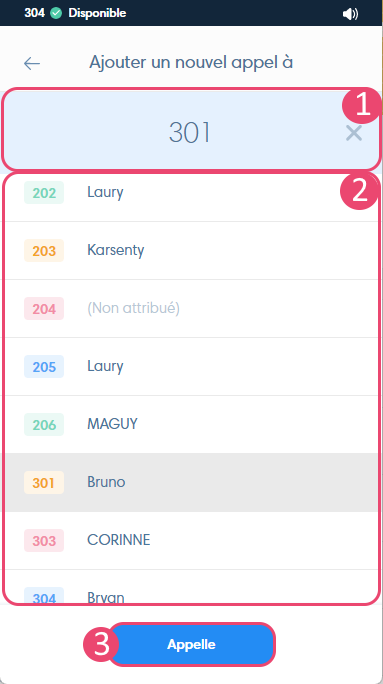
Conference mode
To switch to conference mode, click on the “Add” icon, then enter the extension number (1) or select a contact from the list (2). Finish by clicking on “Call” (3) to call the 3rd participant to join the conference call.
Correspondent identification
By activating the contact search with an integration or the Kavkom CRM, the contact’s record appears with his or her information on an incoming or outgoing call. You can then either quickly access the corresponding record in your CRM with a single click, or create a contact there.

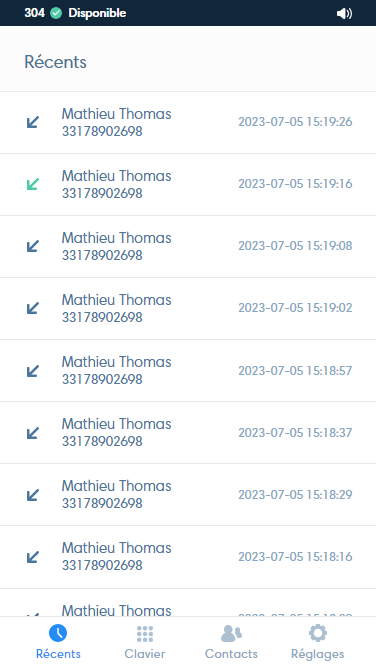
Call history
By tapping on “recent”, view your call history from any of your numbers. You can view outgoing, incoming and internal calls, as well as voice messages. In addition to the phone number, the contact name is displayed when an integration is activated and the number corresponds to a contact in your CRM.
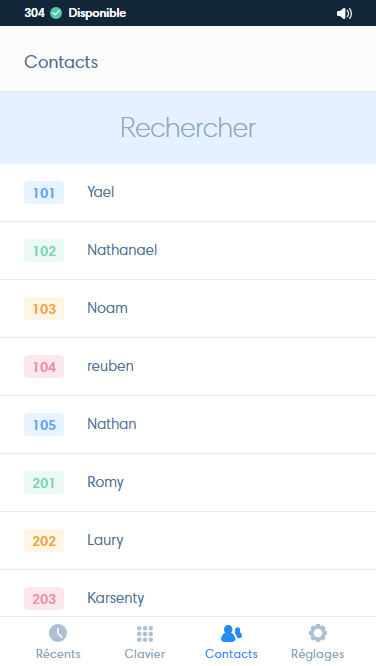
Contacts
Find the list of your teammates to contact them quickly. You can perform a quick search in the “Search” input field.
Now you know how to set up and use all the features of the Kavkom Webphone!
If you have any further questions about setting up and using the Kavkom Webphone, please do not hesitate to contact our technical support team.
