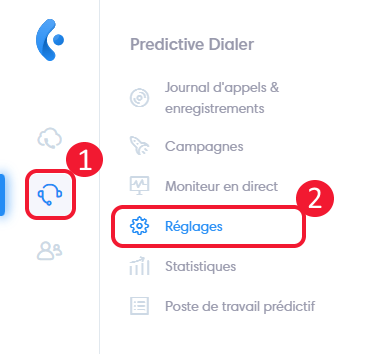
To access your Predictive Dialer settings, click on the “Predictive Dialer” icon, then on “Settings”.
The “Settings” page has 4 tabs: User mapping, Disposition, Fields and Inbound Dids.

Setting up predictive users
To find out how to configure predictive users, go to the “Managing predictive users” article.

Disposition
Each account can have up to ten personalized disposition. Contact disposition is visible in the interface when a contact is connected with an agent, and in export files.
Users can assign any disposition to contacts during or after calls.
Once dispositionned, a contact will not be called again until it has been recycled. You can then delete, recycle or export contacts according to their disposition.
Add disposition
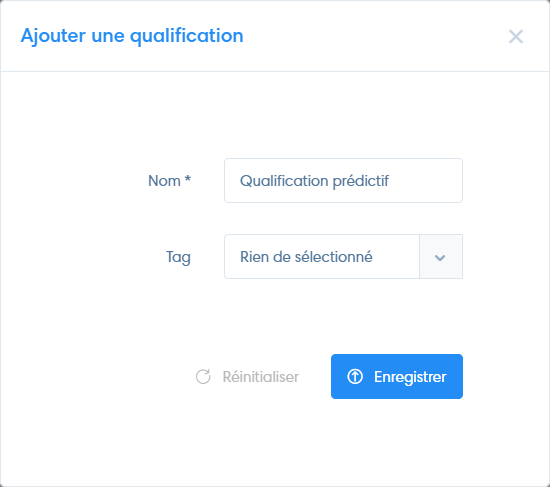
To create a disposition, click on “Add disposition”. A window opens.

Enter the disposition name. If you select a CRM tag, this will automatically be applied to the lead when it is qualified in the predictive workstation. This applies both when the lead is updated in the CRM, and when you add it to the CRM.
Finish by clicking on “Save”.
Fields
Add a data field for each data element you wish to store on our servers. These fields are visible when a prospect is connected with an agent, on the prospect record saved in the CRM and in exports.
Create field
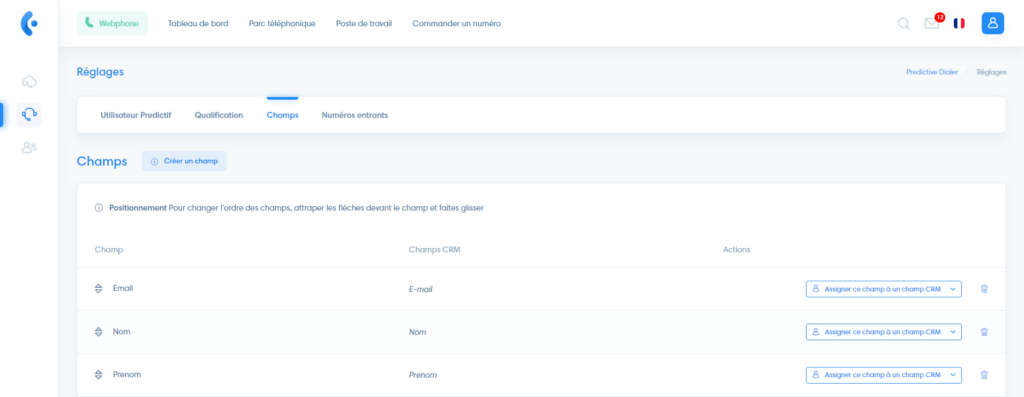
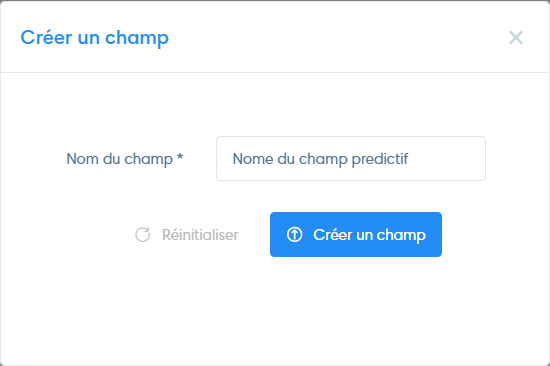
To create a data field, click on “Add a field” and a window will open.
Enter the name of the data field and click on “Add a field”.
Returning to the list of data fields, click on “Choose CRM field to contact”.
If you assign predictive fields to CRM fields, these will be synchronized and you’ll be able to update data from the predictive workstation or save it when you add a prospect to CRM.
Select the corresponding CRM field and click on “Save”.
Inbound DIDs
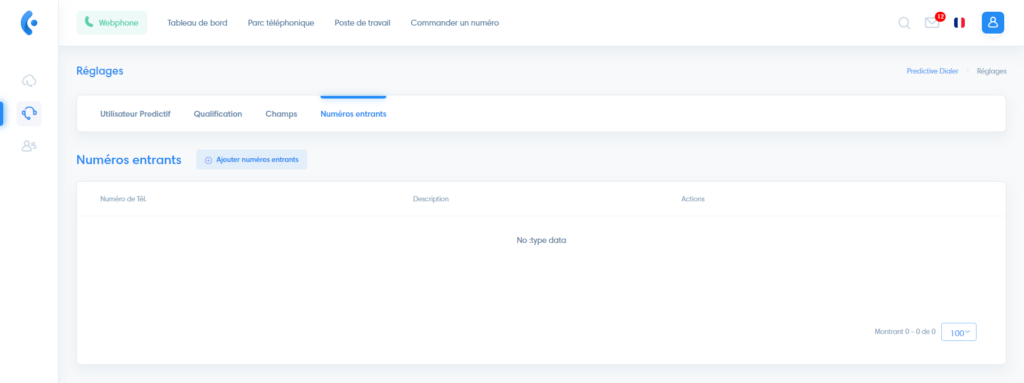
Adding incoming numbers allows you to receive calls in the call history.
Click on “Add new inbound DID” and enter the number.
