

Access the customer area
To manage your plans, go to your customer area.
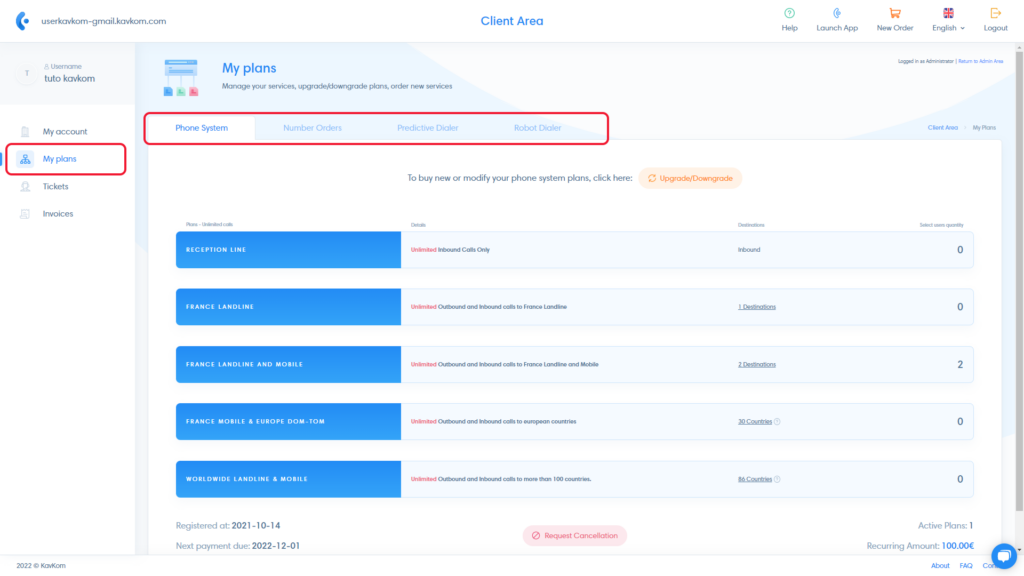
Once connected, you arrive directly in the “My plans” section.
In this interface, you can find your subscriptions for “Phone system”, “Numbers Orders”, “Predictive Dialer” and “Robot Dialer”.
Business phone plan
Find information about your packages
In the “Company phone” section you will find the following information:
- Click “Upgrade/Downgrade” to add or change your subscriptions
- Active plans : find the number of active packages you have for business telephony
- Select users quantity : in this column, you find the number of active users you have for each plan
- Destinations : find the countries to which you can communicate with a package, click on the number of destinations to see the list.
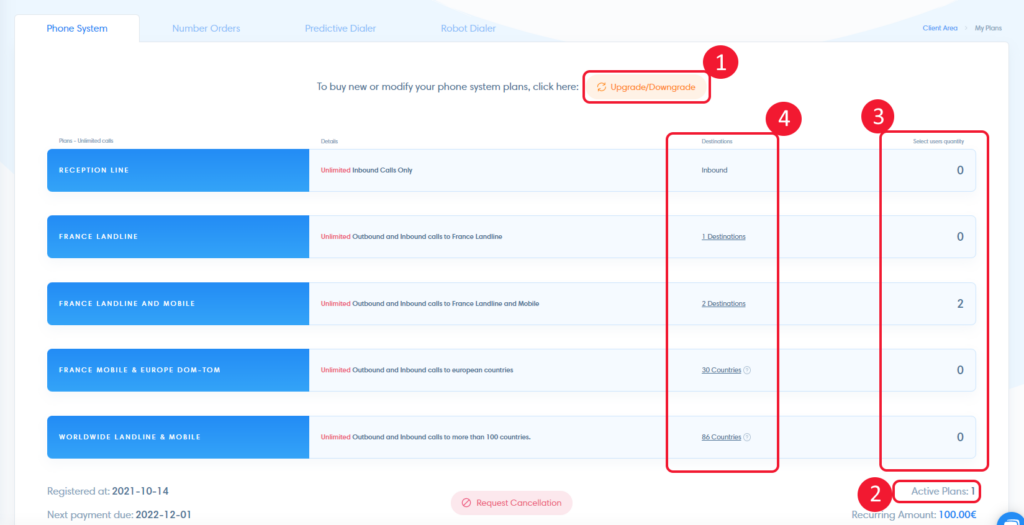
Note
If there are 0 users for a plan, it means that it is not active.
Add subscriptions
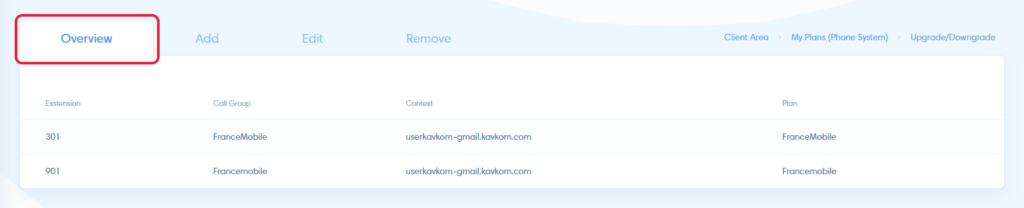
Once you have clicked on “Upgrade/Downgrade”, you will find the summary of your plans.
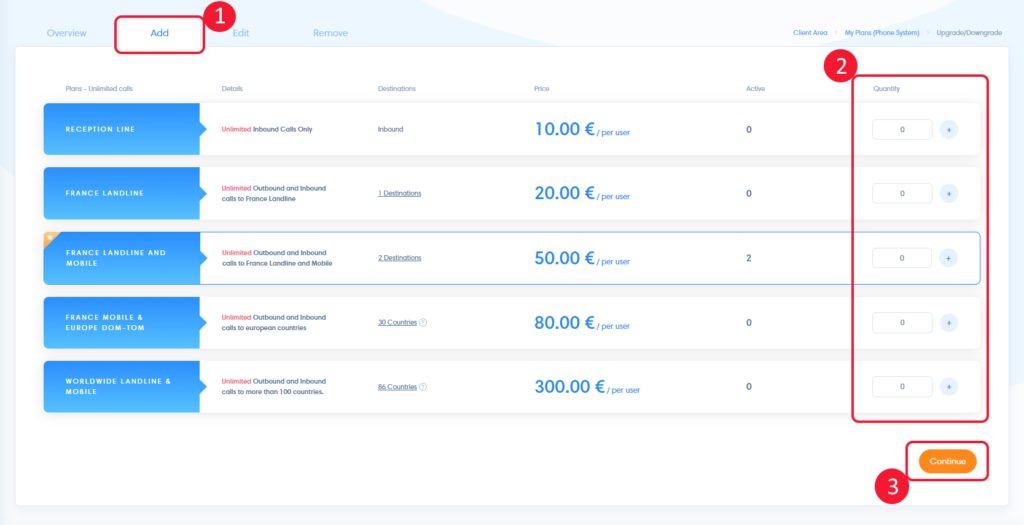
- Then, to add a subscription, go to the “Add” tab.
- Then choose a plan and quantity.
- Click on “Continue” button.
Now you just have to click on “Checkout”:
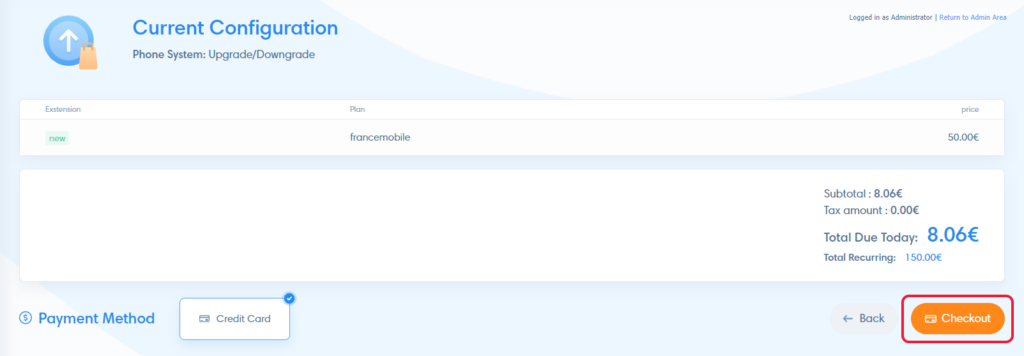
All that remains is to make the payment:

Modify your subscriptions
Edit phone system plans
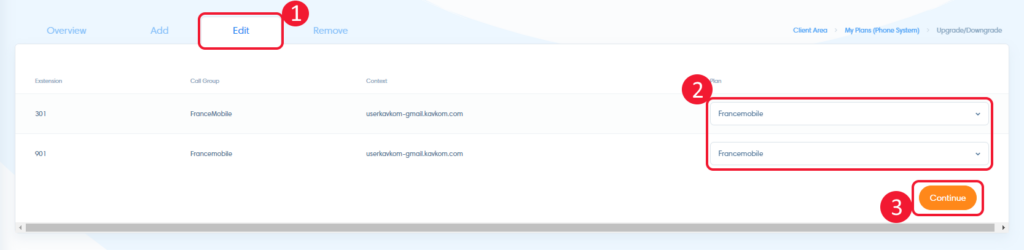
- Go to the “Edit” tab to modify your subscriptions.
- Modify plans associated with extensions.
- Click on “Continue” button and follow next the steps.
Remove phone system plans
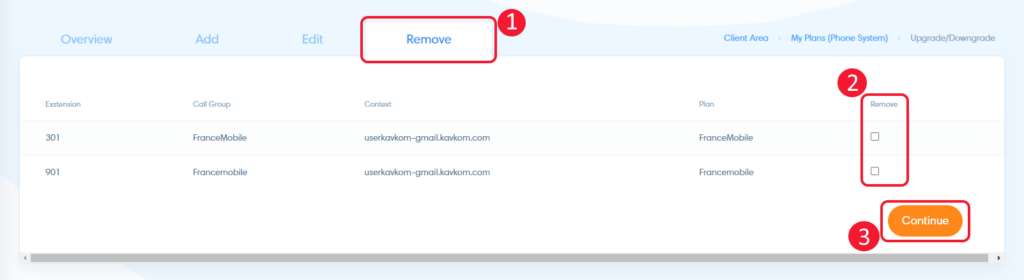
- Go to “Remove” section
- Check the boxes corresponding to the lines to be deleted.
- Click on “Continue” button and follow next steps.
Order additional phone numbers
Place order
To order a number, make sure you are in the “My packages” section of the customer area and then:
- Click on “Number Orders” tab.
- Then clickon “Order Now”

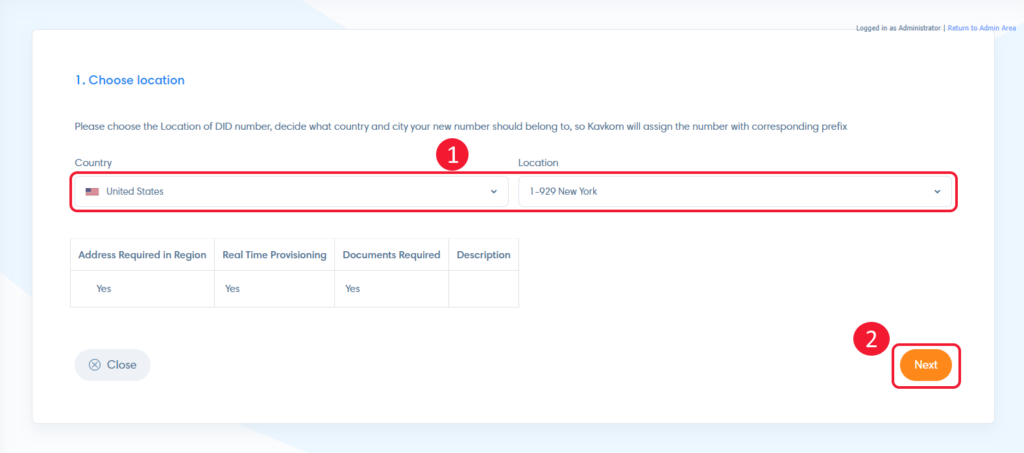
Choose the country and location of your number (1) ans click on “Next” button (2).
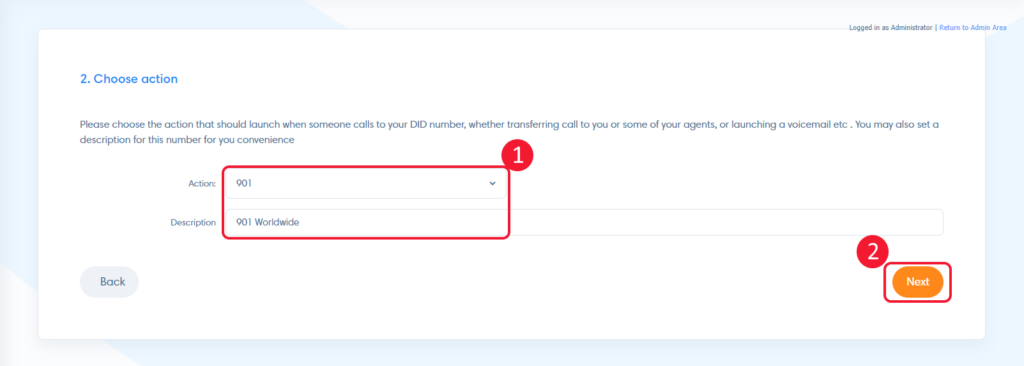
Then, choose the action that should be launched when a call is made to this number (1). For example, here we forward calls to extension 901.
Then, click on “Next” button (2).
Verify identity
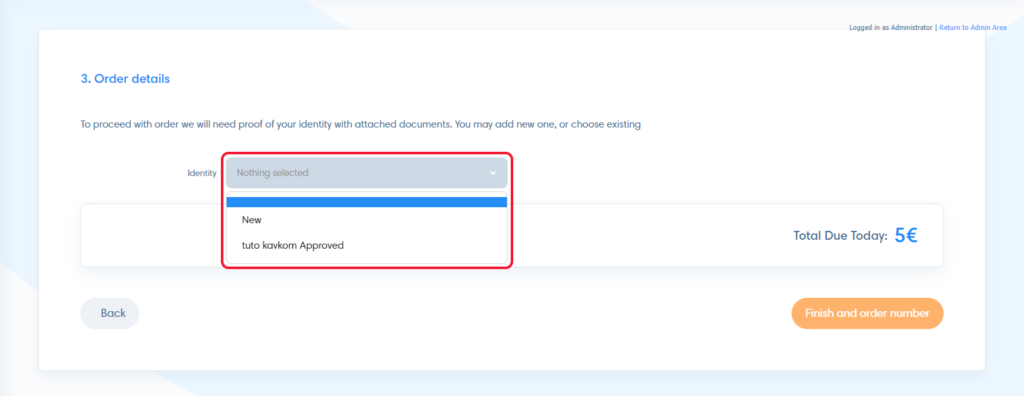
You then need to link your number to an identity.
You can either choose to link the number to an already verified identity: you will see the mention “approved” next to identity.
Or create a new identity, by clicking on “New” in the options of the “Identity” field:
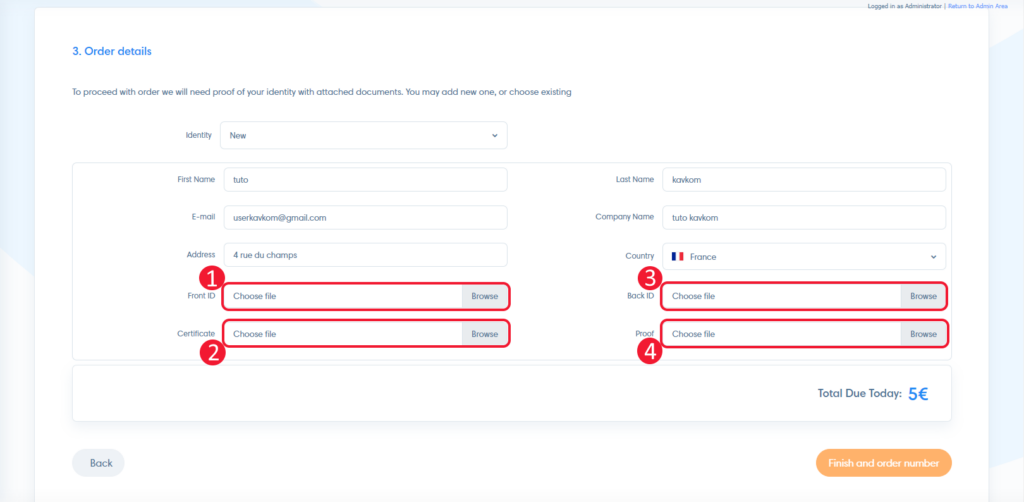
To add a new identity, complete the form and upload the following documents:
- ID card front: click on “browse” and upload a photo or scan of the front of your ID card
- ID card back: click on “browse” and upload a photo or scan of the back of your ID card
- Certificate of Incorporation (KBIS): click “browse” and upload your KBIS
- Proof of address: click on “browse” and upload a proof of address for your company
Once the request has been sent, Kavkom verification services will get back to you as soon as possible.
Predictive Dialer Plans
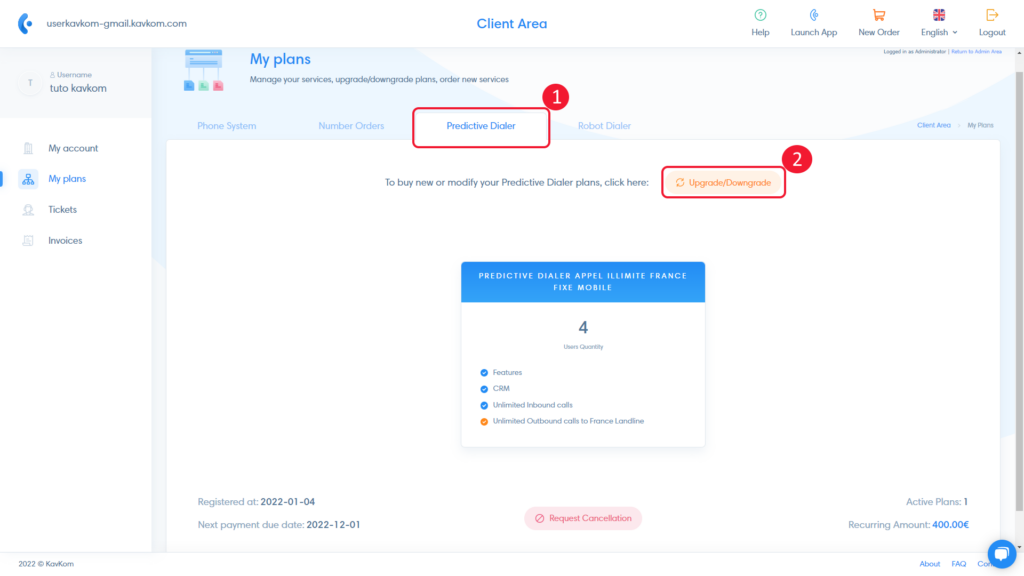
To place an order for the Predictive Dialer from the customer area, click on “Predictive Dialer” tab (1), then on “Upgrade/downgrade” button (2).
Next, select the amount of users (1) and click on “Continue” button (2) :
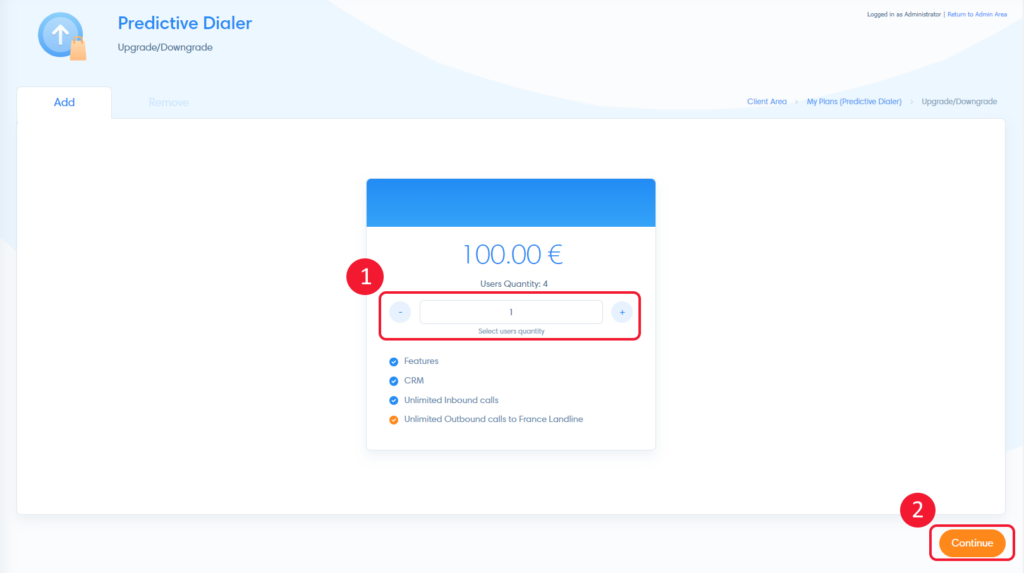
Now you just have to pay the order to activate new plans.
