
With this tutorial, learn how to easily configure your Yealink IP phone to use cloud IP telephony.
Preparing your Yealink IP phone
- Phones connected to another IPBX system must first be reset. To do this, press and hold the “OK” button until the system is reset.
- Check that your phone’s firmware is the latest version, otherwise update it.
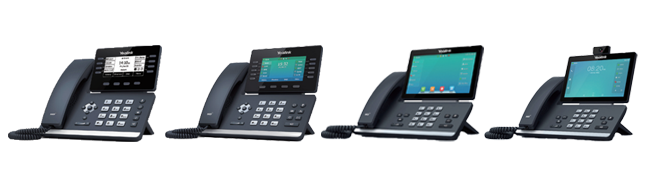
- Yealink T52S, T54S, T56A telephone sets are marked as end-of-life by the manufacturer and may not work optimally with VoIP.
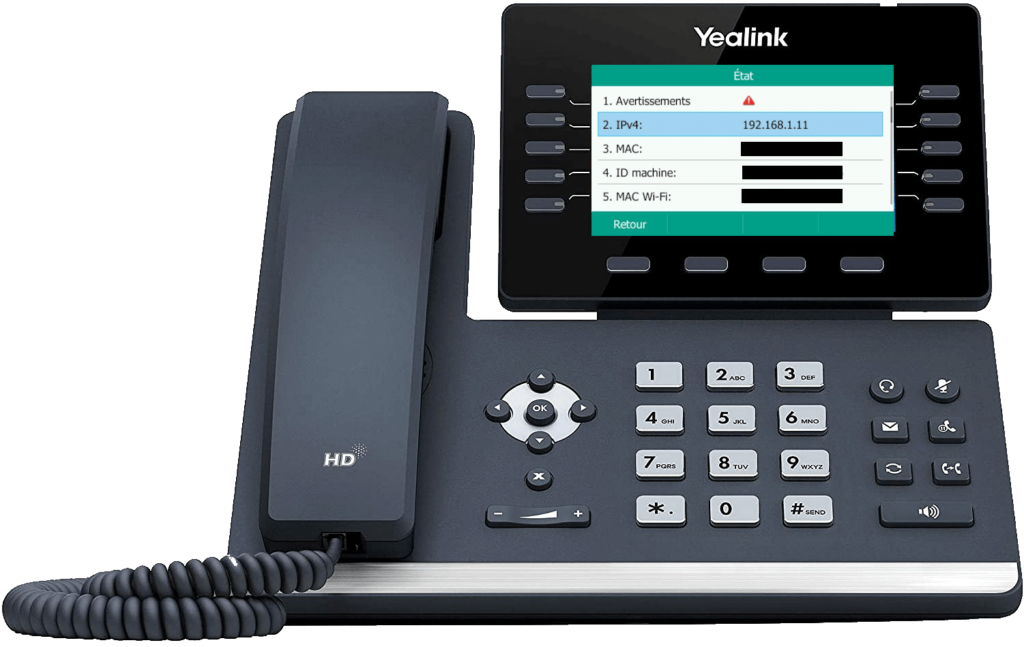
Connect the phone and retrieve the IP address
Connect the phone to the Ethernet LAN and plug the adapter into the socket. Once start-up is complete and the Internet connection is established, press the OK button and read the IPv4 address of the extension.
Access the configuration interface
From a computer connected to the same internal network, enter the station’s IP address in the URL address bar and press Enter.

Connection to configuration interface
Log in to your Yealink IP phone’s configuration interface. By default, login information is :
- Login : admin
- Password: admin
N.B.: You can restore the default password by resetting the phone to factory settings. To do this, press and hold the “OK” key until the password is reset.

Access the SIP account settings menu
In the left-hand menu bar, click on the “Account” button.

Retrieve SIP account information
When you placed your order, you received an e-mail with login information for Kavkom SIP accounts.
| Extension | Group | Context | Password |
| 101 | France | test.kavkom.com | m1u7N5gcVN |
| 102 | France | test.kavkom.com | !wpw?tdCTT |
| 103 | France | test.kavkom.com | jgE!RQj!Y6 |
| 104 | France | test.kavkom.com | BSUPGL$Eh0 |
| 105 | France | test.kavkom.com | TLLcQ*PFg9 |
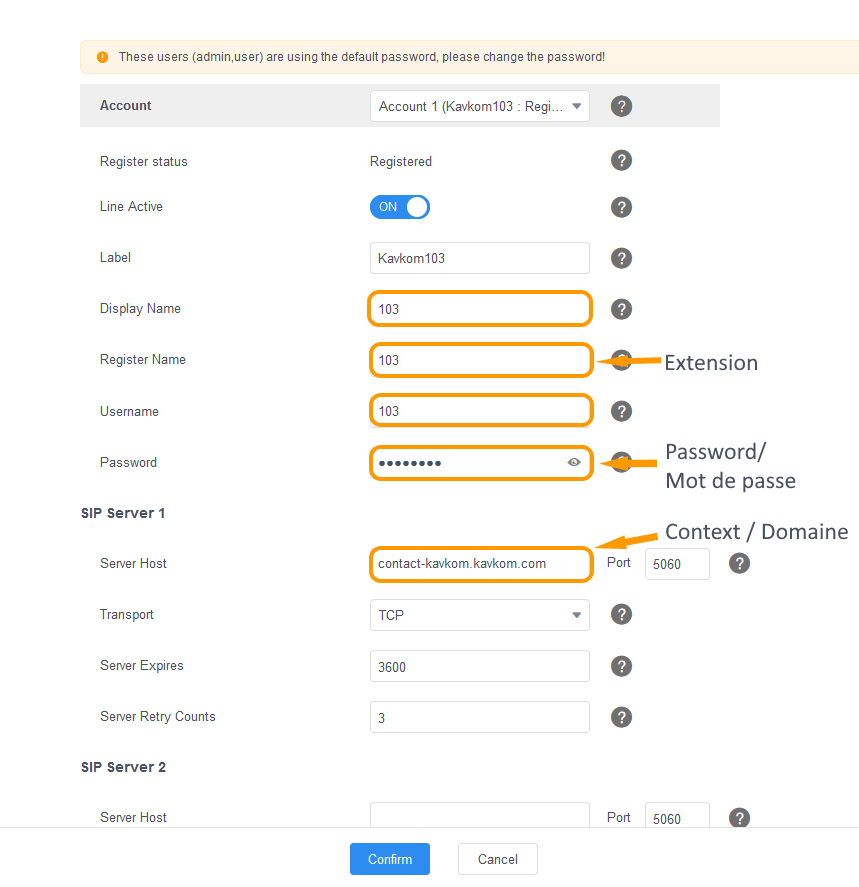
Enter your Yealink account information
Based on the IP PBX connection information received, enter the extensions, user name, password and domain.
Confirm configuration
Save the Yealink IP phone configuration by clicking on “Confirm”.
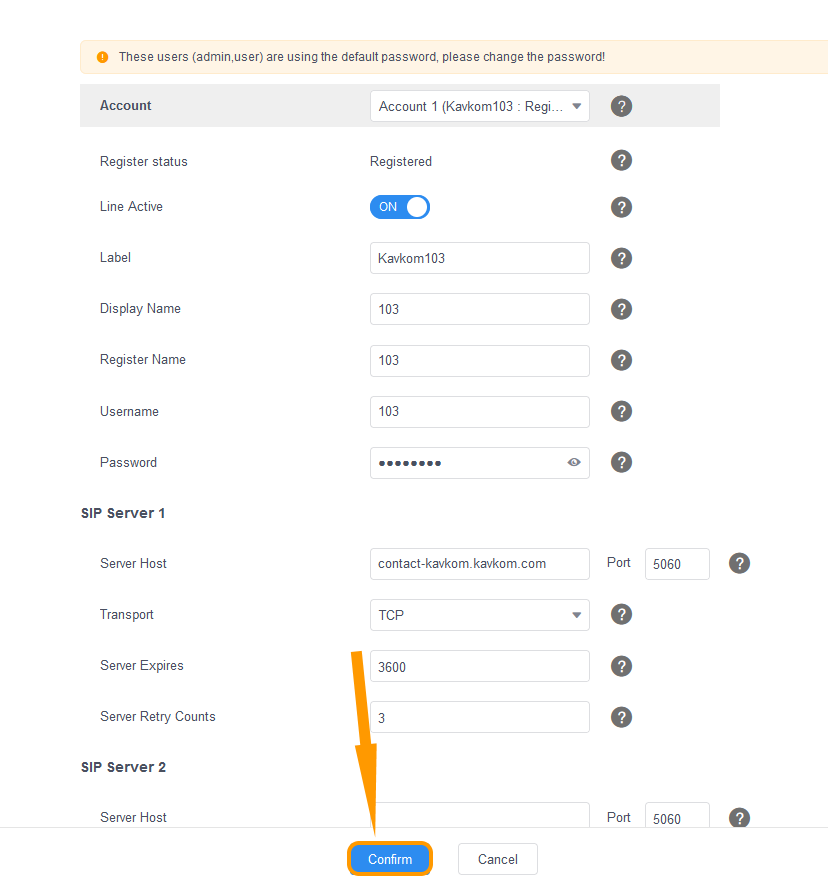
Once configuration is complete, the Yealink IP phone displays “Update configuration”.
When the label appears in the top left-hand corner, you can make calls to test the configuration.
